HOW TO FIT MORE ON A CRICUT MAT AND SAVE MATERIAL
Using tools within Cricut Design Space, you can move and rotate your images to make the most of your material! This tutorial will show you the best ways to fit more on your Cricut mat.
Instructions
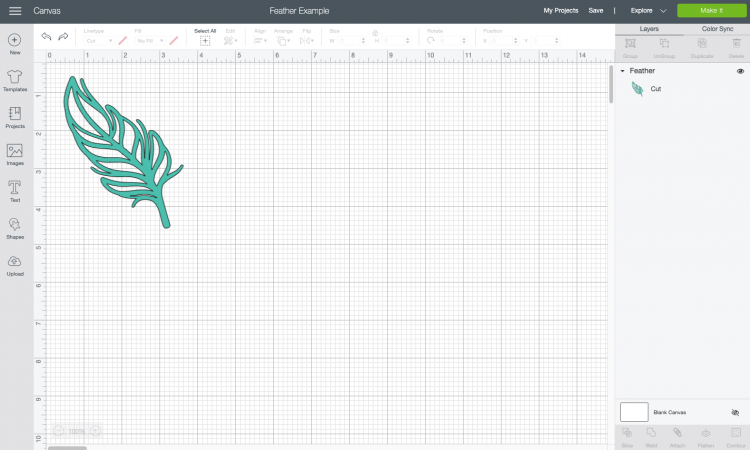
- When you go to make your project in Cricut Design Space, the software will lay out your image on the Cricut mats in the way it thinks is best to save the most amount of material.Problem is, it's not particularly good at this function, and thankfully Cricut knows it. They've given users three tools to help fit more on a Cricut mat so that you can save material! Let's look at all three using the example of this feather.
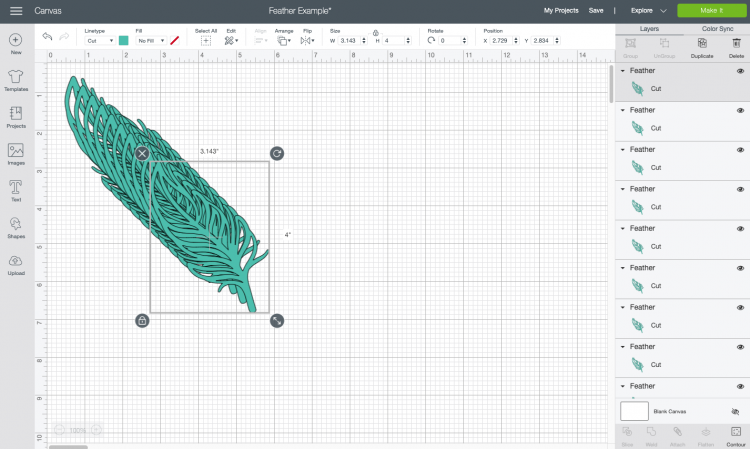
- Now duplicate the feather so you have ten total. This will allow you to have enough feathers to try all three tools and help you on your way to fitting more on your Cricut mat.Then Click Make It in the upper right.
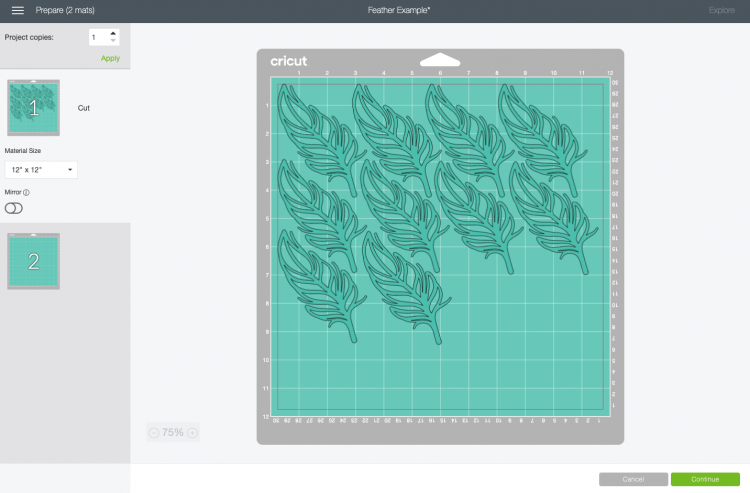
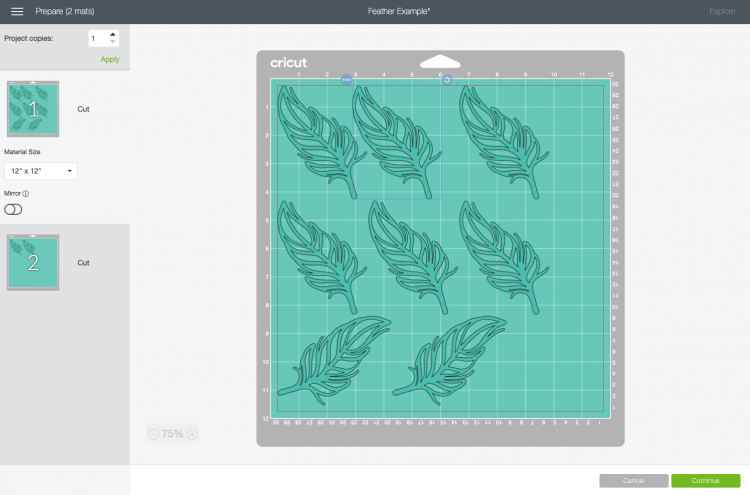
- Using Tools to Fit More on a Cricut MatOn the Prepare screen, you'll see that Cricut Design Space has laid out all the feathers on two mats. Each feather is pretty far from the feather next to and below it. This is because each Cricut image has a rectangular "bounding box" around it, and when the software lays out the images, those boxes cannot overlap, leaving you with lots of space between your images.

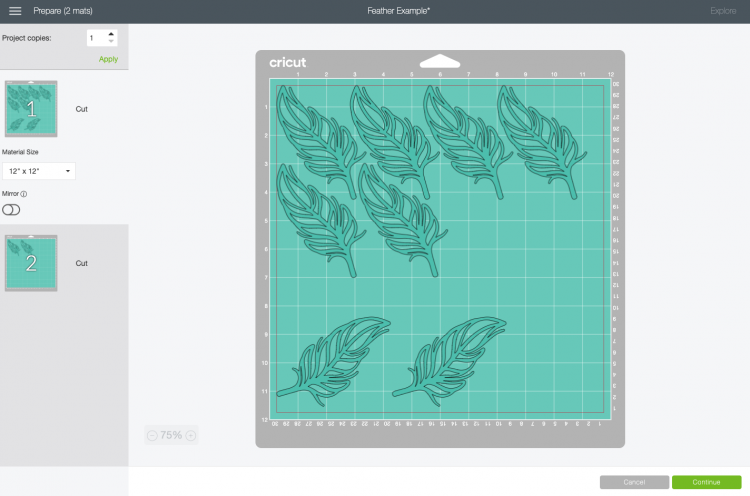
- The Move ToolThe first tool is easy—you can just click on an image and move it wherever you want it to go. In this case, we nestled the second feather much closer to the first and so on with those first six feathers facing to the left.
- In this case, we were able to fit a whole extra feather on that top row.
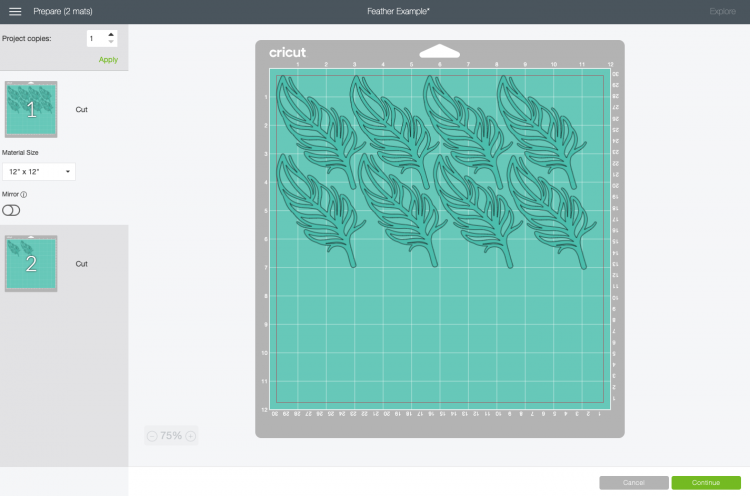
- The Rotate ToolNow we have the two feathers down at the bottom. Cricut Design Space rotated these automatically to fit them on the mat, but we can do better. Click on an image. In the upper right you'll see a little rotate icon.

- Use that icon to rotate your feathers to match the others. If you hold down the Shift Key, it will constrain the angles at which you are rotating, so you can make it match the others. Then nest those two final feathers with the others.
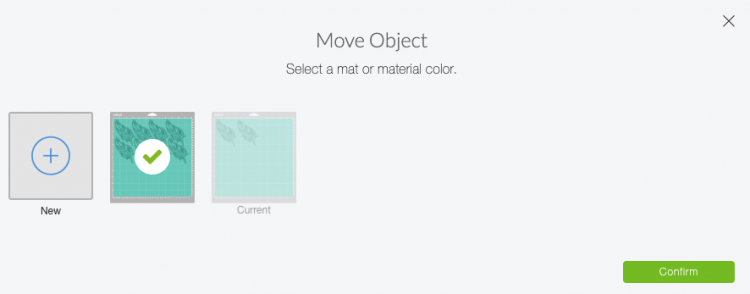
- The Move to a New Mat ToolNow we have a ton of space on that first mat, and two lonely feathers on the second. Click on the second mat and select one of the feathers.In the upper left you'll see a little three-dot menu. Click that and choose Move Object.
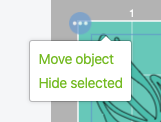
- Then Cricut Design Space will pop up a box and ask which mat you want to move it to. Choose the first mat (in this case, the only other mat).
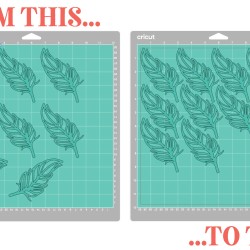
- Cricut Design Space will move that feather to your first mat. Generally it will put it right where it started on the other mat—in this case in the top left, so you can't really see it because it's right on top of another feather. Just select it and move it below the others.Repeat with the final feather and all ten feathers are now neatly nested on a single mat, saving you a bunch of material!