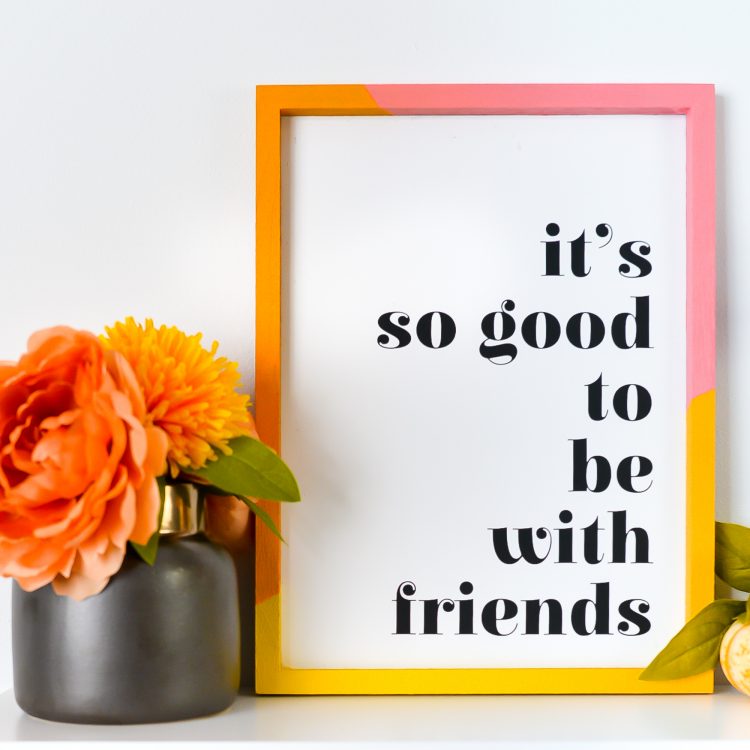
GOOD FRIENDS QUOTE
Gather with the friends who mean the most to you for a festive Friendsgiving this year! These DIY Friendsgiving decorations will set the mood for this fun holiday!
Equipment
Ingredients
Instructions
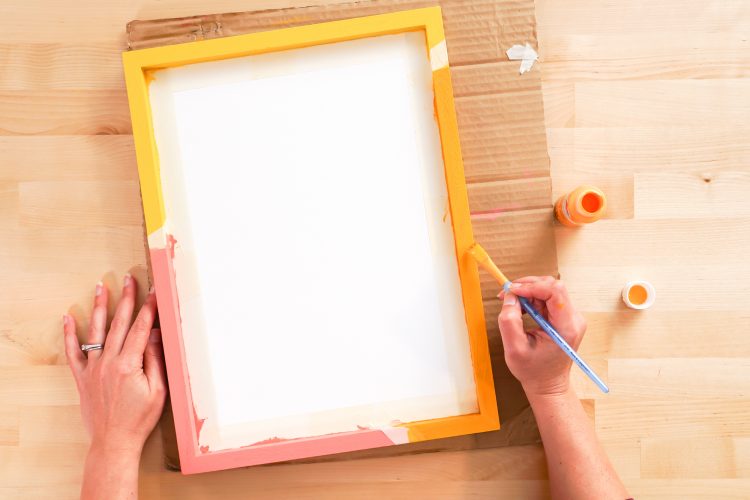
- Paint Your FrameThis plain wood frame was painted using masking tape to protect the backing board from getting paint on it. A color blocking technique was used. You can paint to match your decor or leave the raw wood for a more rustic farmhouse look.
- Upload the Friends Quote SVG to Cricut Design SpaceContinue by uploading the SVG file to Cricut Design Space (see Uploading SVG Files to Cricut Design Space if you need help).
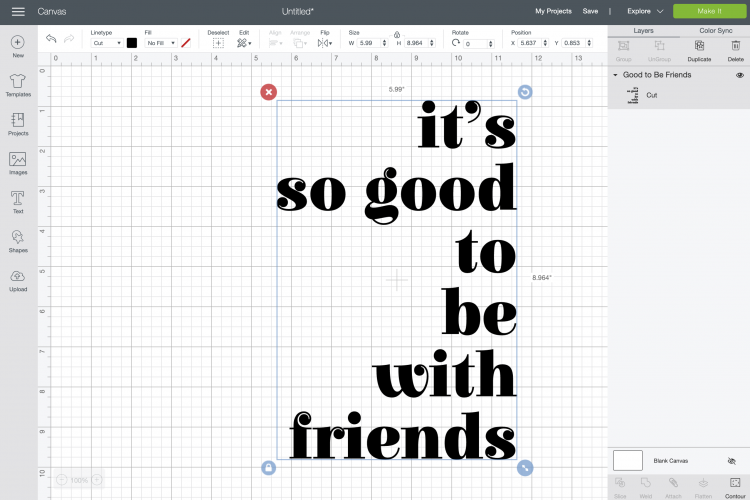
- Once the file is onto our canvas, we need to resize it to fit our sign in the Edit Toolbar at the top. The interior of this sign is about 10" x 14" so the image was resized to 7.3" x 11". Resize the image to fit your frame.
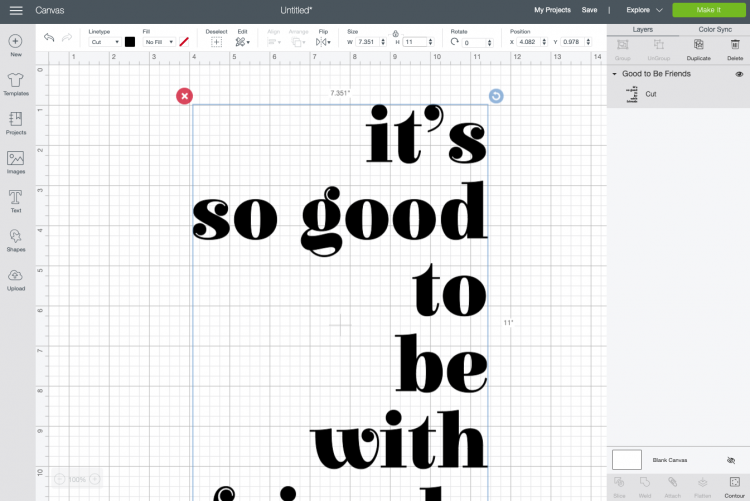
- That's it! We are ready to cut the file. Click Make It in the upper right and you'll be taken to the Prepare Screen. Here, you want to click the "mirror" slider. This will ensure that your project faces the correct direction when it's ironed onto the sign.Then click Continue!
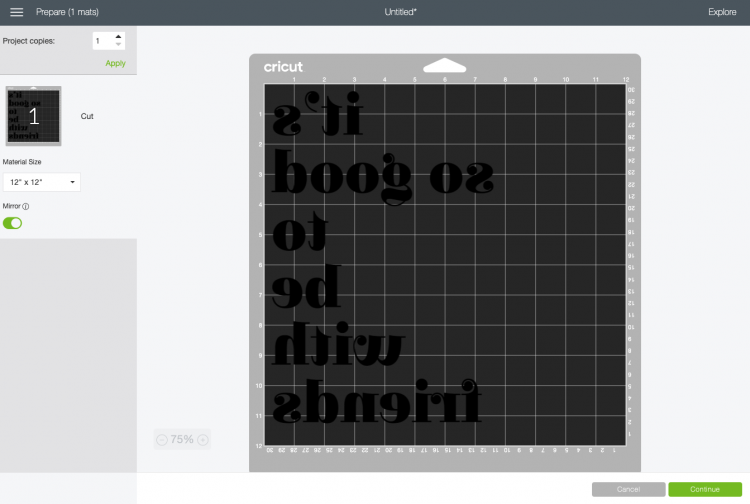
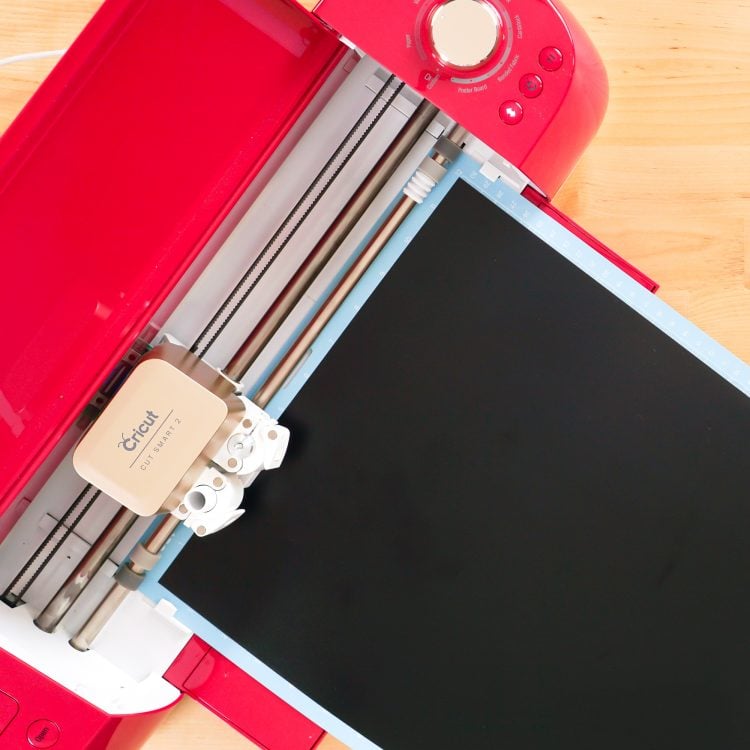
- Cut Your Iron On Vinyl for Your Friendsgiving SignOn the Make Screen, you'll set your material to iron on. Make sure you have your fine point blade in your machine, insert your mat, and your Cricut will cut your project!
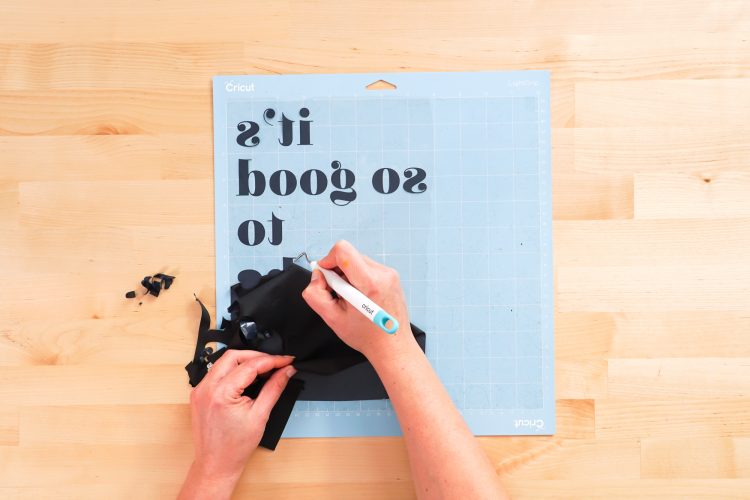
- Weed Your Iron On VinylNext we're going to "weed" the negative space from around our image. There is an extensive post about Weeding Iron On Vinyl, which you'll want to read—tons of tips and tricks to making it easier.
- Adhere Your Iron On VinylNow we are going to adhere our iron on vinyl to the sign. Place your weeded image on the backing board of the sign.
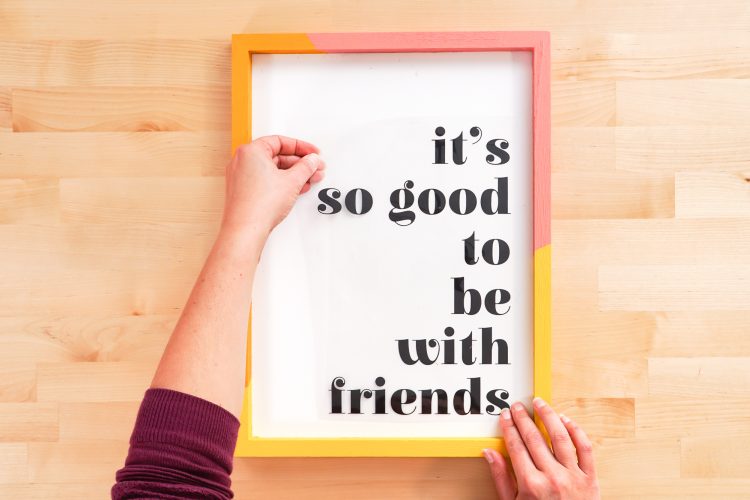
- Press with the EasyPress Mini or other small iron to adhere.
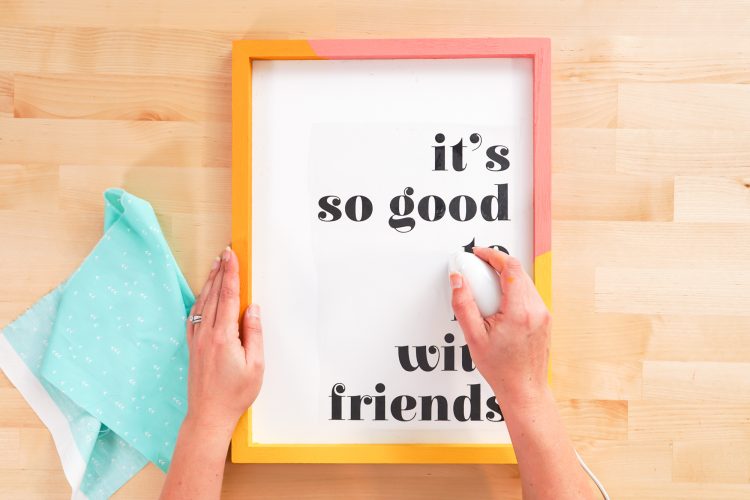
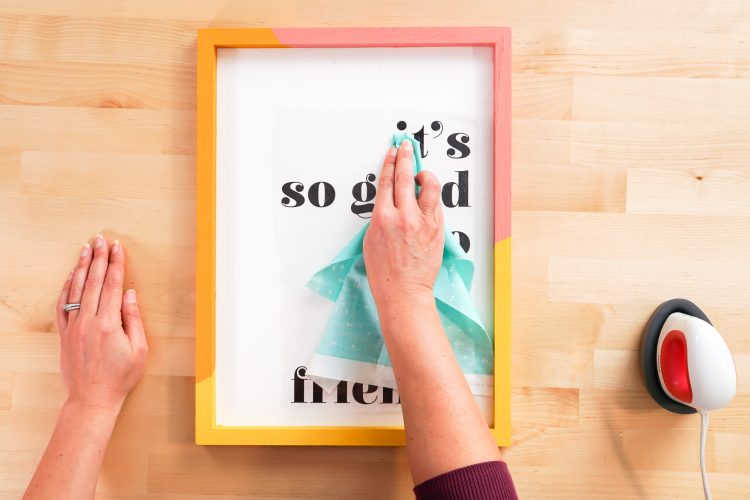
- Before it cools, use a towel or a piece of cloth to press the iron on vinyl onto the backing board. This really helps the iron on vinyl to adhere and not peel up when you're removing the carrier sheet.
- Once it has cooled, carefully peel back the carrier sheet. If it hasn't adhered, press again.
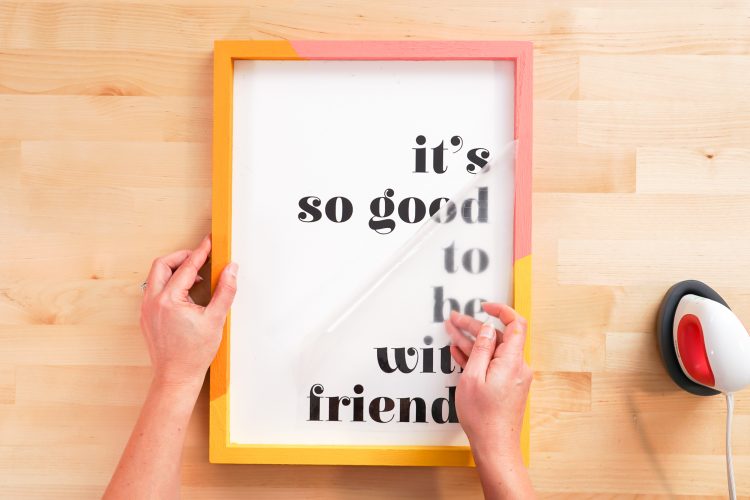
- This is a super quick way to make just about any home decor sign—iron on vinyl is infinitely easier than a stencil!
