
Family Shirts with Cricut Infusible Ink
Make a shirt for you and your mini with Cricut Infusible Ink raglans! Make professional level projects that won't peel, crack, or fade with Cricut Infusible Ink.
Equipment
- Cricut EasyPress 2
Ingredients
- Cricut Infusible Ink Transfer Sheets + included butcher paper
- Cricut Infusible Ink raglan shirts n preferred sizes
- White cardstock
Instructions
- Infusible Ink Matching Family Raglan ShirtsMake sure to read these instructions carefully. Infusible Ink is different than other Cricut materials and has its own special process to get the best result. You don’t want to ruin your project, your EasyPress mat, your EasyPress 2, or your day!
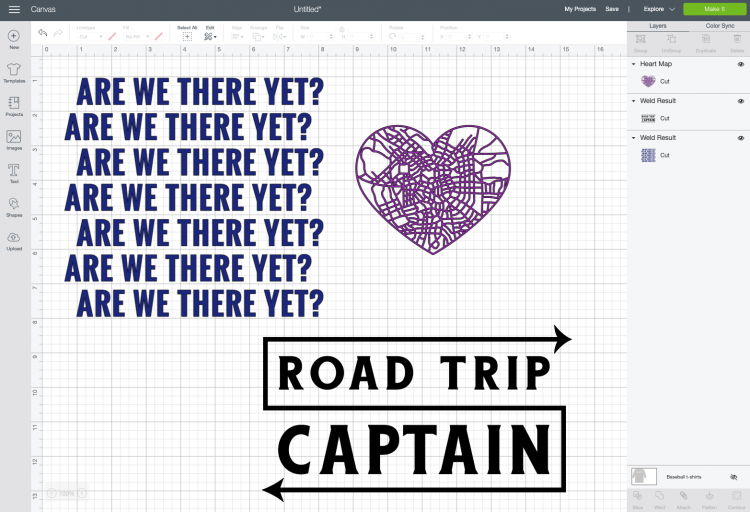
- Create Your Design In Design SpaceStart by creating your design for your t-shirts in Cricut Design Space. For this project we are using two Design Space files: Road Trip Captain is #M1A1AB197, the "Are We There Yet?" image is #M1A1AB138, and the map heart is #M1A1AB21E. For each image, it was changed to a single color that was representative of the Infusible Ink transfer sheet being used, and also welded each one so they would each cut as a single image. Measure your shirts and resize your images to fit.
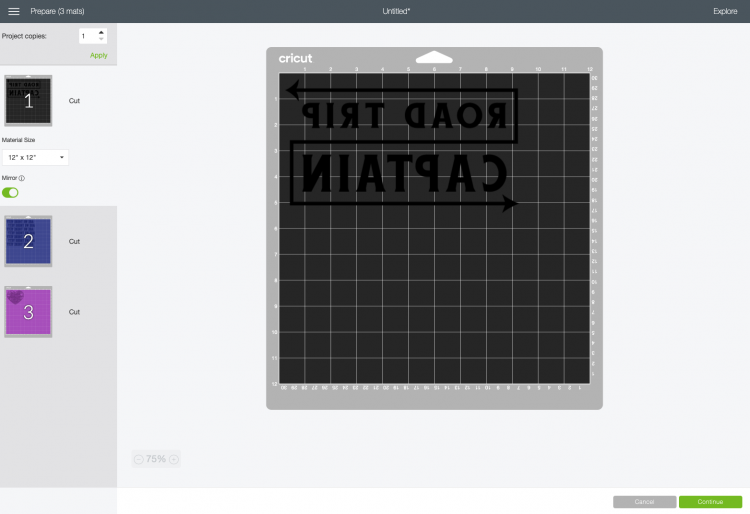
- Then click Make It in the upper right corner. When you get to the Prepare screen, make sure to mirror your image. Infusible Ink is like iron on vinyl in that you need to reverse your image for it to adhere correctly to the base surface. Then click Continue.
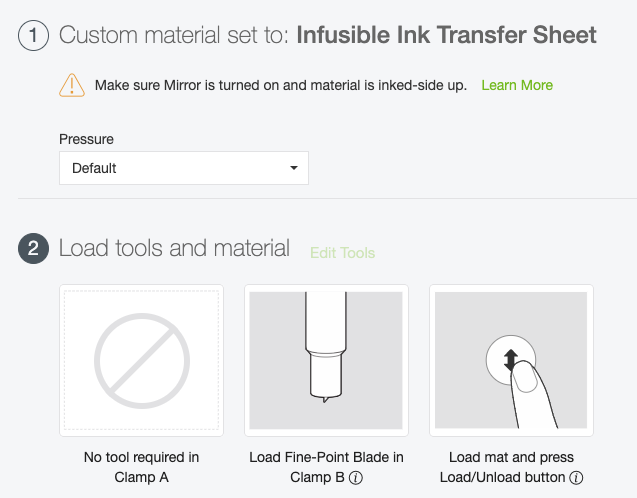
- In the Make screen, select Infusible Ink Transfer Sheet as your material (use the Custom Material setting on the Explore dial and then search for “ink”). Make sure you have the Fine Point blade inserted.
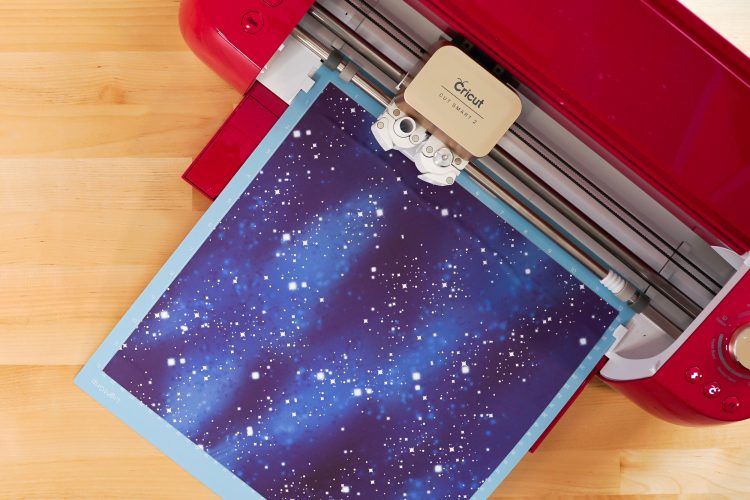
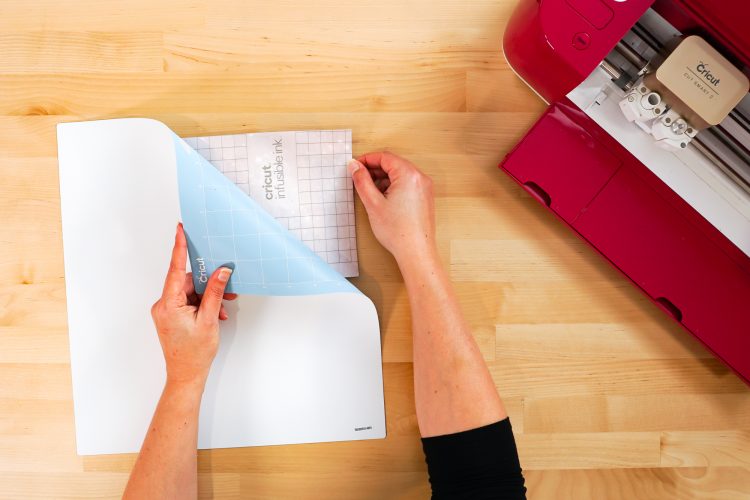
- Cut Your Design on the CricutPlace your Infusible Ink transfer sheet liner side down on the cutting mat. You can use a brayer to help flatten the transfer sheet onto the mat—you don't want any bumps or bubbles.

- Then insert into your machine and cut!
- To remove your transfer sheet from the mat, flip the mat over and peel the mat away from the transfer sheet, keeping the transfer sheet flat on your table with your hand.
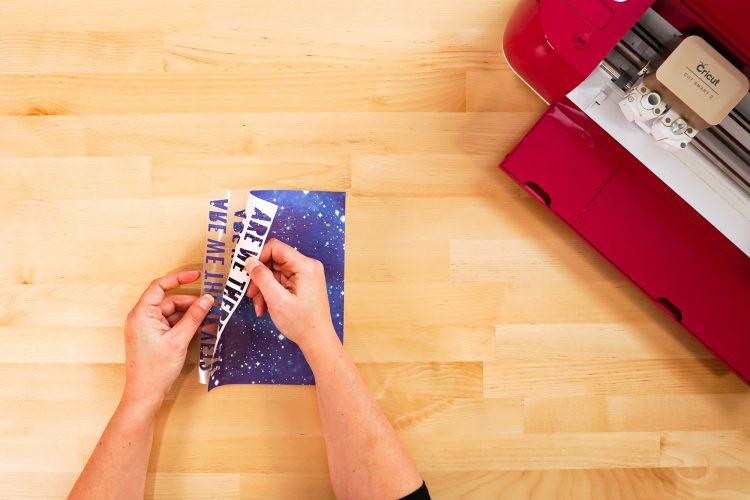
- Weeding Cricut Infusing InkWash and thoroughly dry your hands. Cricut Infusible Ink is designed to be weeded with your hands, instead of a weeding tool, but the oils from your hands can cause ghosting.Bend the backing sheet gently and pull off all of the negative material. You can use tweezers for the small bits in letters if needed, but it's just easier to bend the backing sheet a bit and use your fingernail.
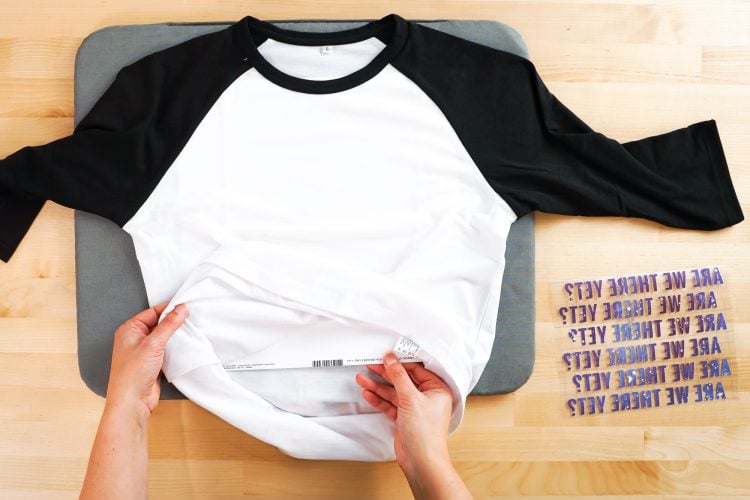
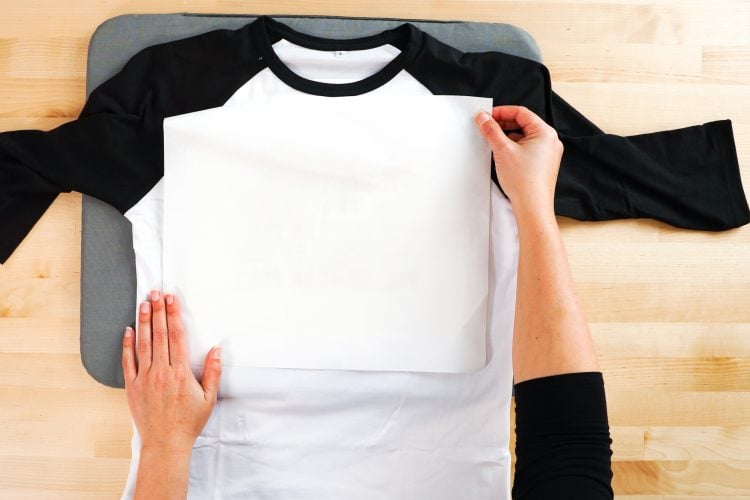
- Prepare Your Raglan For Infusible InkBefore you actually do your transfer, you need to prepare your raglan. Start by placing your raglan on a Cricut EasyPress mat. Then place a piece of white cardstock inside the raglan—this will help prevent bleed-through to the back.Then use a lint roller to remove any dust and debris from your raglan. This will help make sure that you get the cleanest transfer possible.
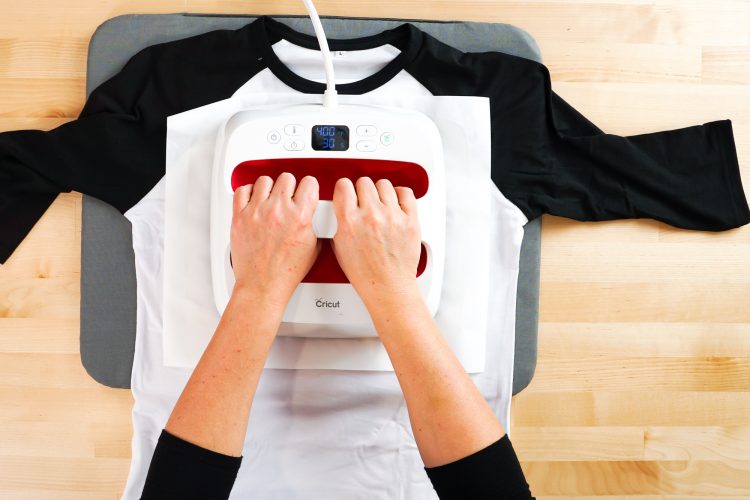
- Heat Time & Temperature SettingsAccording to Cricut’s Heat Settings Guide, the time and temperature for Infusible Ink on a raglan is 385° for 30 seconds. After some trial and error, we now go with 400° for 30 seconds—found that the EasyPress 2 cools a bit when it hits the shirt for the first time.
- Use The EasyPress To Transfer Cricut Infusible InkFirst cover your blank raglan with the butcher paper that came with the transfer sheet. Then pre-heat your raglan before you apply your transfer, to help flatten your surface and dry any moisture in the material itself. Press for 15 seconds and let cool completely.Once your raglan is totally cooled, you can add your transfer, face down on the raglan.
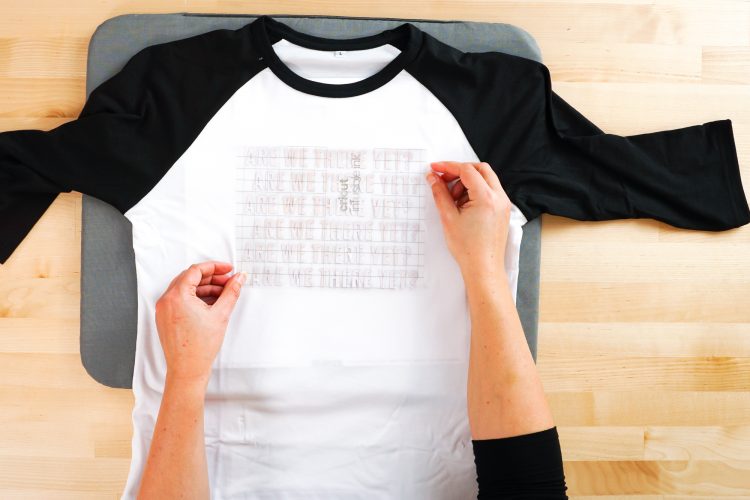
- Place the butcher paper back on top of the transfer.
- Then carefully press your EasyPress 2 onto your project with steady, consistent pressure. Do NOT move your EasyPress around—that could cause your transfer to shift and blur your edges. Press for 30 seconds.
- Let the transfer cool completely and carefully pick it up—it will not be stuck to your raglan at all. Continue this process until you've made all of your family matching shirts!