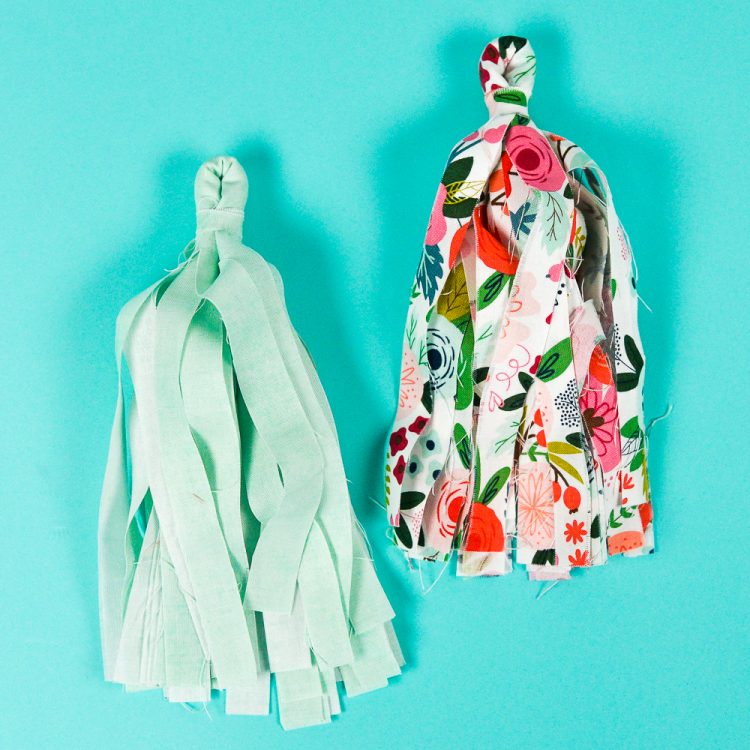
FABRIC TASSELS
Fabric tassels are easy to make and add a wonderful handmade dimension to any party decor. Want to simplify the process? Here's how to make fabric tassels using the Cricut Maker!
Equipment
Ingredients
- Fabric in 12" x 18" rectangles
- Cricut Design Space File
Instructions
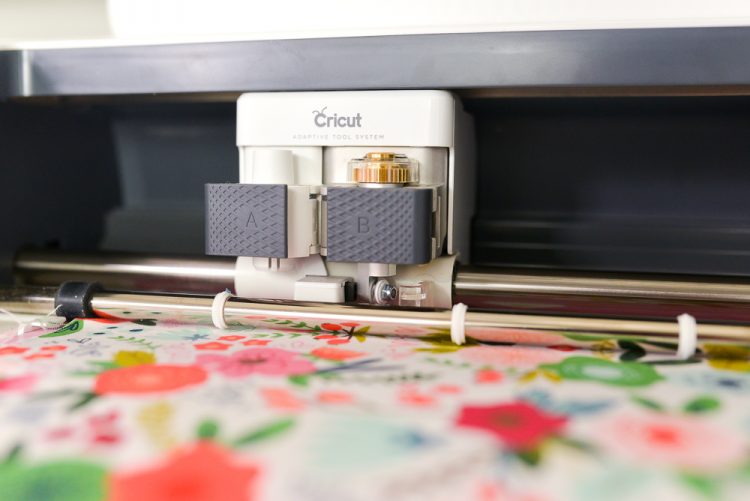
- Start by opening up the file in Cricut Design Space here. You'll see that it's basically a rectangle with a bunch of parallel lines cut into either side of it. Click Make It in the upper right of your canvas and you will be taken to the Prepare Screen. You don't need to make any changes here, so click Continue.Then select your fabric. For this project regular quilting cotton, so cotton was chosen as the setting. Automatically, Cricut Design Space changes the blade type to the Rotary Blade. Insert the Rotary Blade into your Cricut's housing.Place your fabric on your Cricut mat. Because this project doesn't have a "direction," you can place your fabric right side up or down. Carefully smooth out your fabric or use a brayer—the brayer is preferred in order to keep the oils from fingers as far away from the mat adhesive as possible! Learn more about Cleaning Your FabricGrip Mat.

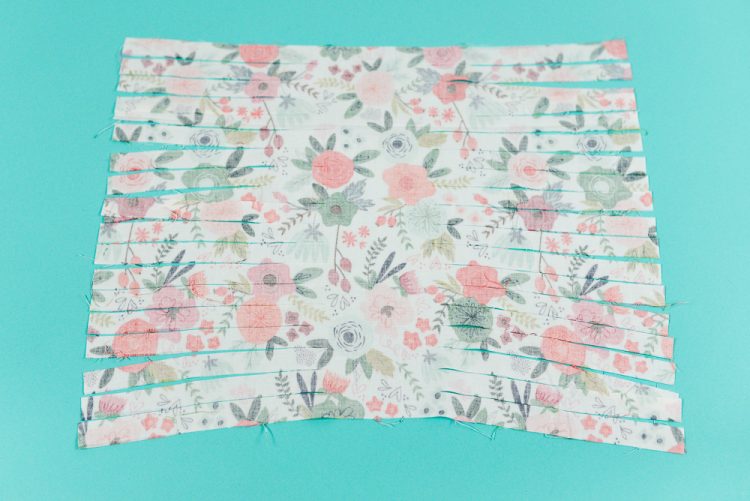
- Insert your mat into your machine and click the blinking "C" to cut! The Cricut's rotary blade will precisely cut out your fabric to create your tassel.
- Remove your fabric tassel from your mat. There will be a square of extra fabric around the edge—keep it! We'll use a scrap from it in just a minute.
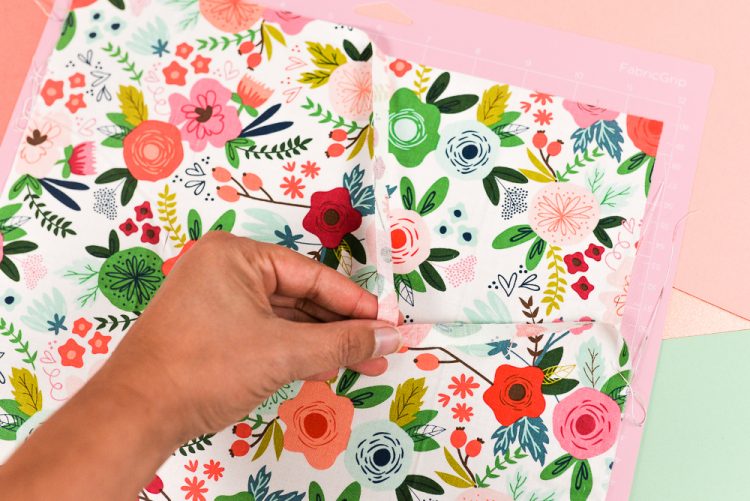
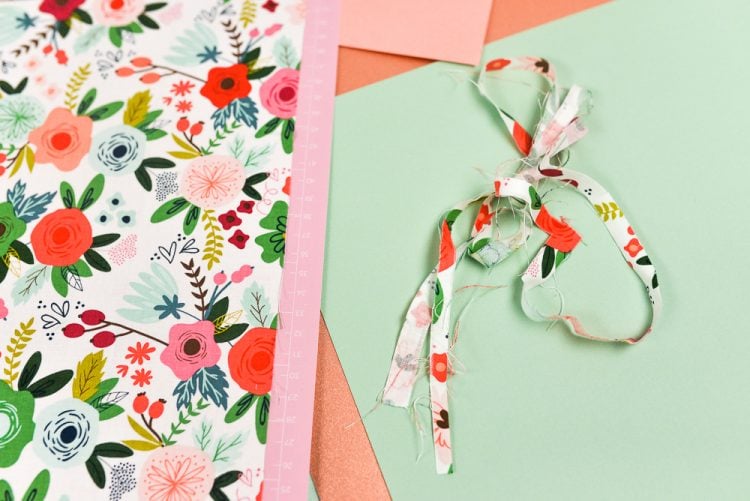
- You may find that this particular cut is a little "thready"—because the fabric is cut directly along the grain, it can cause some longer threads. Just trim off the worst offenders, but don't worry about the others—the point of fabric tassels is to be a little shabby chic anyway.
- Place the fabric facedown on a table. Start at one uncut end, and carefully roll your fabric.
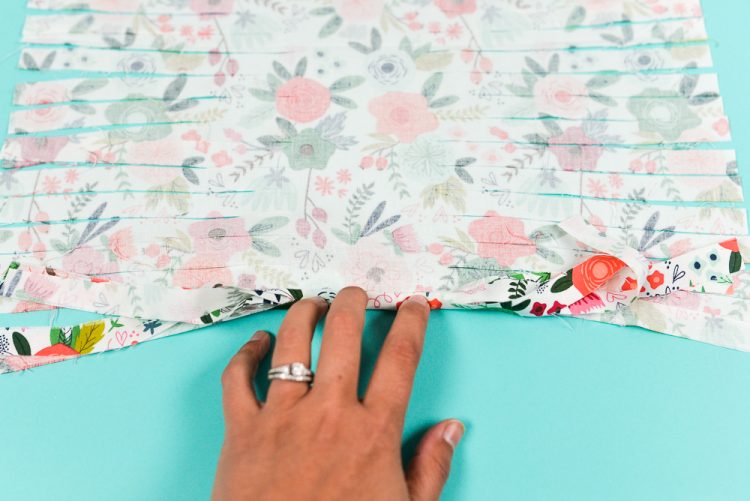
- Untangle the fringe as you go, trying to keep the roll as tight as you can. Continue rolling until you have a tube with fringe on each side.

- Then bend in half to create a loop.
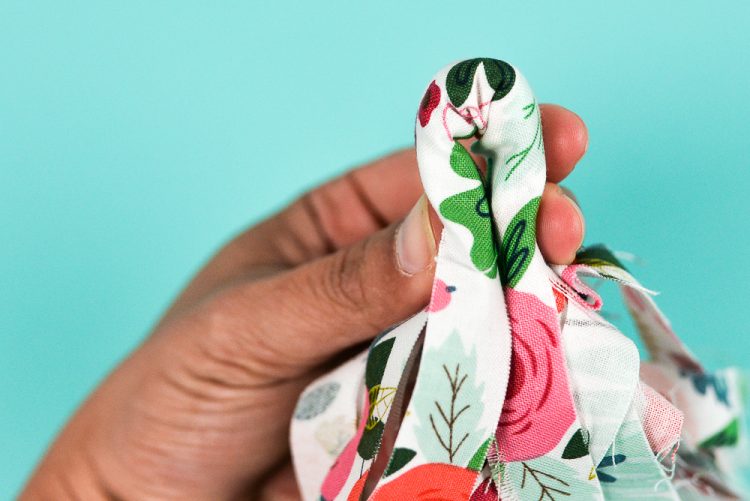
- Using a piece of scrap fabric from above, secure the tassel with a little hot glue. Make sure that you can still feed a piece of twine or ribbon through the loop you made (Using a pair scissors to push the ribbon through works well). Then you're done!