ENGRAVE PENCILS WITH GLOWFORGE AURA
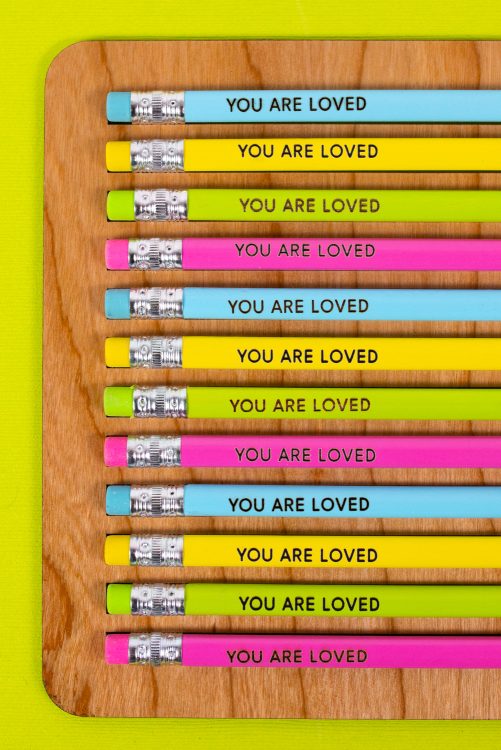
Back to school is here! Here's how to engrave pencils with Glowforge Aura and a free pencil jig SVG. These instructions will show you how to line up your engraving so your pencils turn out perfectly!
Equipment
- Glowforge Aura™ or other laser cutter
Ingredients
- 1 sheet Glowforge proof-grade draftboard or
- other material of your choice (wood, acrylic, etc)
- Pencils
- Free Pencil Jig SVG under LASER #L5
Instructions
- Make Your JigTo make the pencil jig, place your material in the Glowforge Aura and upload the SVG file to the Glowforge app. The file will come in set to “engrave” so you will need to change the actual jig piece to “cut” on the left. Click on the jig file and select “Cut.”
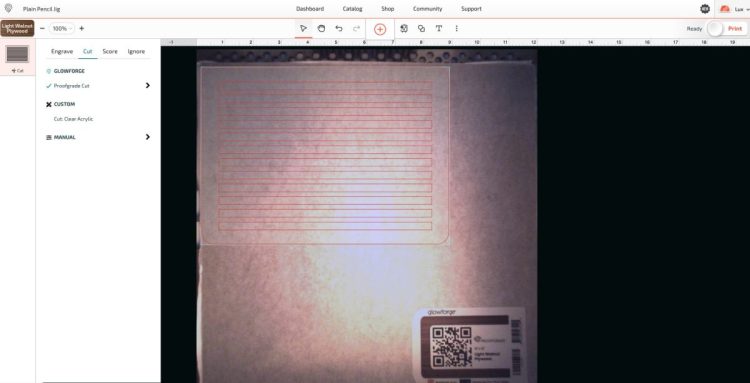
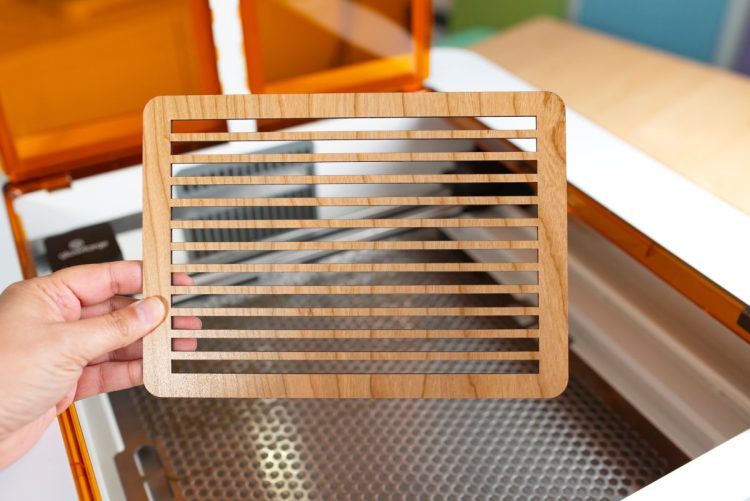
- That’s it! If needed, move your jig to the edge of your material so you don’t waste any material, click Print, and then when it’s ready, the glowing Glowforge button. Your Glowforge will engrave and cut your jig.Once your print is jig is done, peel off all of the masking tape and it’s ready to use!
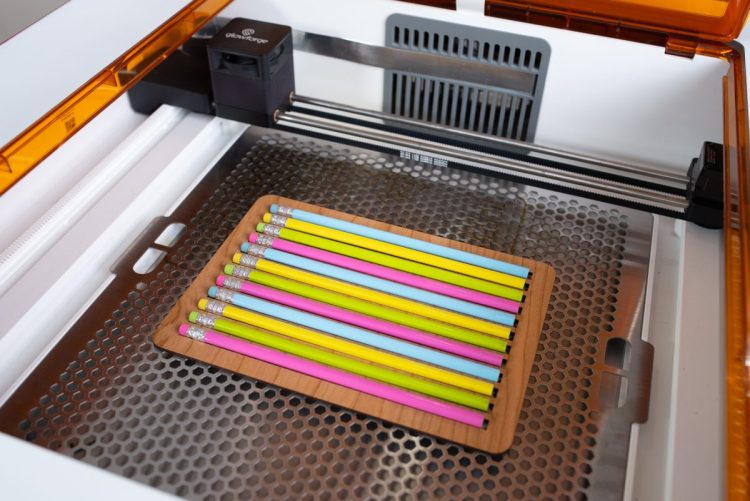
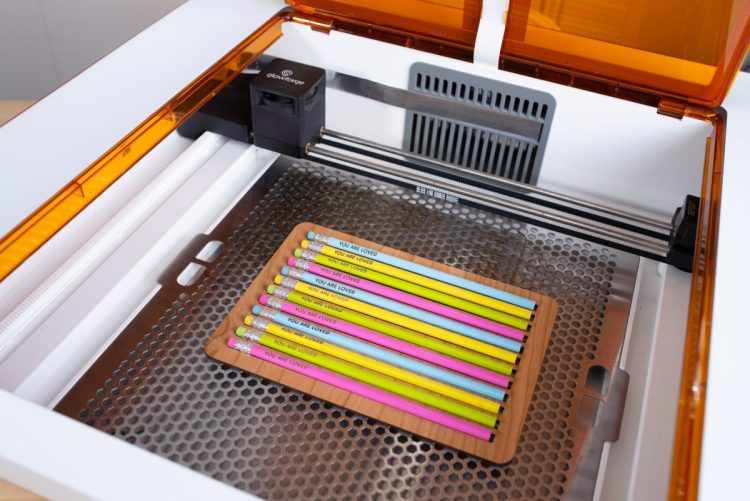
- Engraving Pencils with the Glowforge AuraNow we’re going to engrave the pencils. Place the cut jig into the Glowforge and add your pencils. For these instructions, the pencils were not masked because it makes it hard to center the text. There may be slight charring around the edge of the letters once they are engraved, but you can easily remove it with Windex, LA's Awesome Spray, or another mild cleaner.
- When you close the lid, your Glowforge Aura will take a photo of your pencils in the jig. Move the jig file so it is centered over the pencil photo from inside the Glowforge. You want to center it as best you can on one of the pencils in the center of the jig.
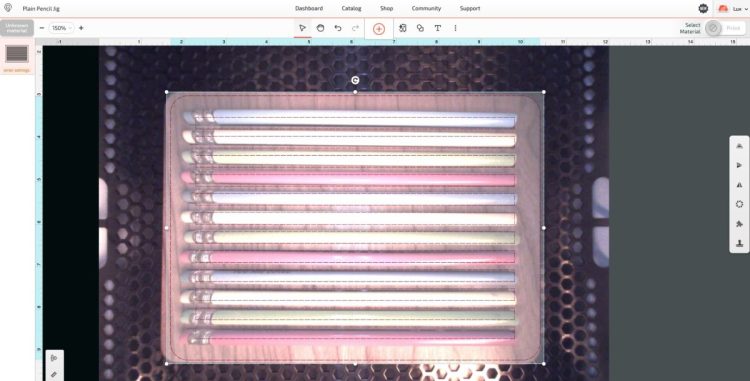
- You'll notice that the jig looks off on the top and bottom pencils—that's because of the fisheye lens in the lid of the Aura.Next let's set the focus. This will tell the Aura that the pencils are a bit higher than the bed of the Glowforge and to adjust the laser accordingly. Go to the three dots at the top and choose Set Focus.
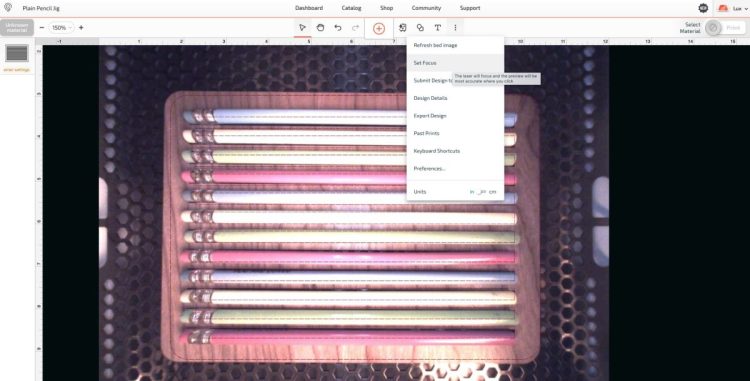
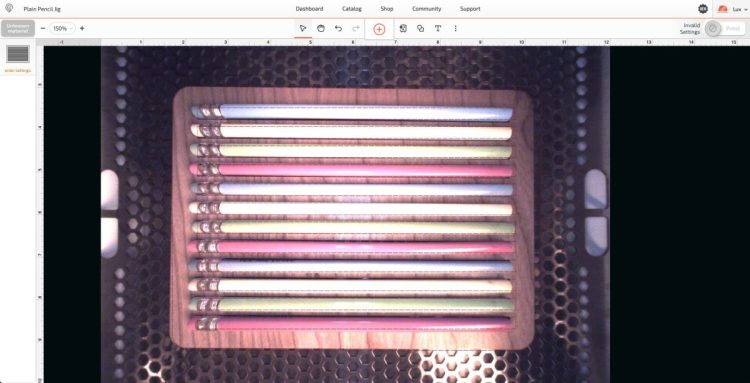
- You'll get a little "sight" instead of your mouse cursor. Click where you want to engrave on that center pencil you have aligned with your jig SVG image. Your Glowforge will set its focus to that pencil and your image should be a bit more accurate to the jig file. Still not perfect, but a lot closer.
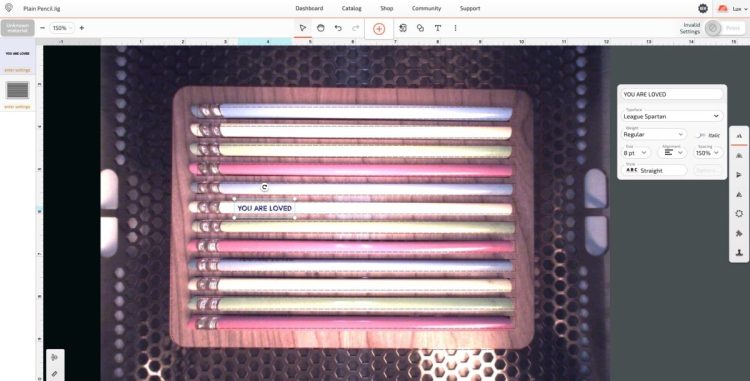
- Add your text to your pencils using the text tool in the Glowforge App. Here a simple, thin, sans-serif font was chosen - League Gothic at 8pt. Also spaced out the letters to 150% because engraving letters can make them run into each other so a little breathing room is needed between the letters. Place your text on that center pencil.
- Now here's where some testing comes in. Go ahead and engrave this single pencil (see the settings below). Then see if the engraving is centered on the pencil or if it's high or low. In all of the tests, the engraving was too low on the pencil.

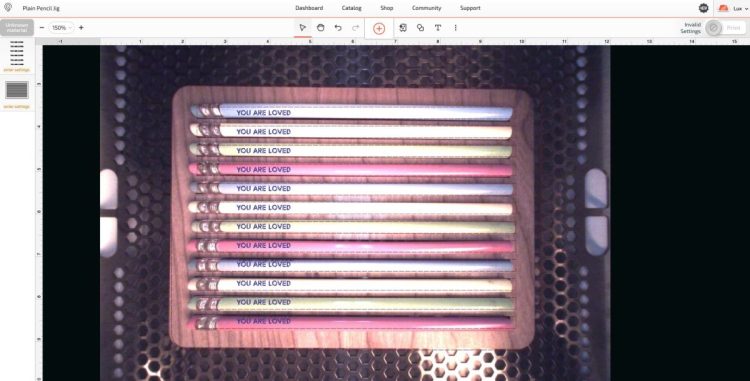
- Which means that for all 12 of the pencils, the images had to be moved up just a bit so that they engrave in the center of the pencil. Yours may be different, so definitely test!You can see in this image that the text was toward the top of each of the lines in the jig SVG file. When you are adding your text, use the jig file as your guideline, NOT the pencils themselves. Remember that the fisheye lens distorts the photo, but we know the jig is correctly spaced for our pencils. The engraving will look off when compared to the photo, especially on the top and bottom pencils.
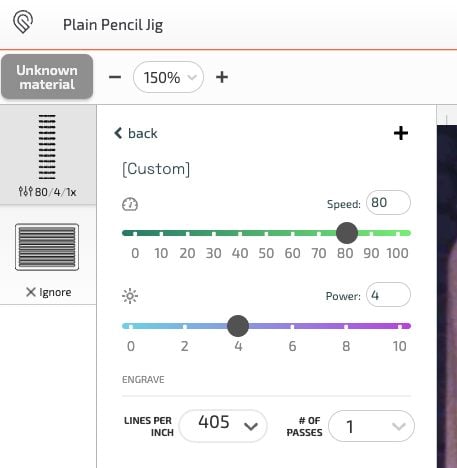
- Now let's set our settings! Important: For the jig layer, make sure that is set to "ignore" so it doesn't cut a second time.For the engraving, these are the settings that were found to work best for the pencils used in this project. You may want to do some tests to see what works best for you.
- Note that diode lasers like the Glowforge Aura have a much less powerful laser than CO2 lasers (like a Glowforge Pro or Plus). These lasers often struggle with the color blue, white, and lighter pinks. So if you are not seeing the best engraving on one of those colors, it's not you! Here was one of the earlier tests:
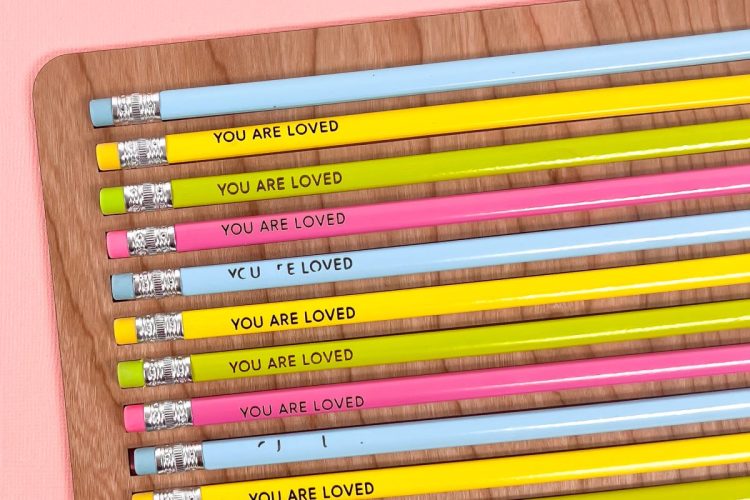
- You should be able to increase the power to engrave any color of pencil. (But do remember that those same colors in acrylic are either uncuttable or you'll struggle to cut them with a diode laser.)Once you have everything lined up and ready to go, hit Print in the upper right. Your Glowforge Aura will engrave your pencils!
- Again, if you see any charring, use a mild cleaner to wipe away the charring. You can re-use the jig as many times as you’d like—you’ll always get a dozen perfect pencils!