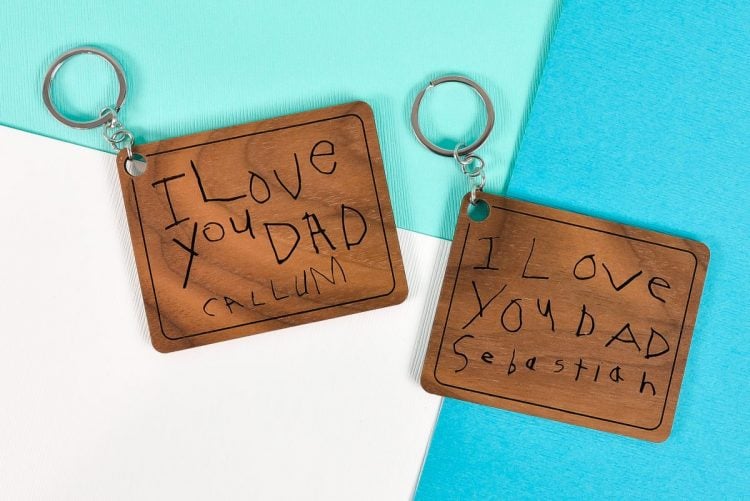
ENGRAVE A CHILD'S HANDWRITING USING A GLOWFORGE
Preserve your child's sweet handwriting in wood or metal! Learn how to digitize and engrave a child's handwriting using a Glowforge to make keychains, plaques, jewelry and more!
Instructions
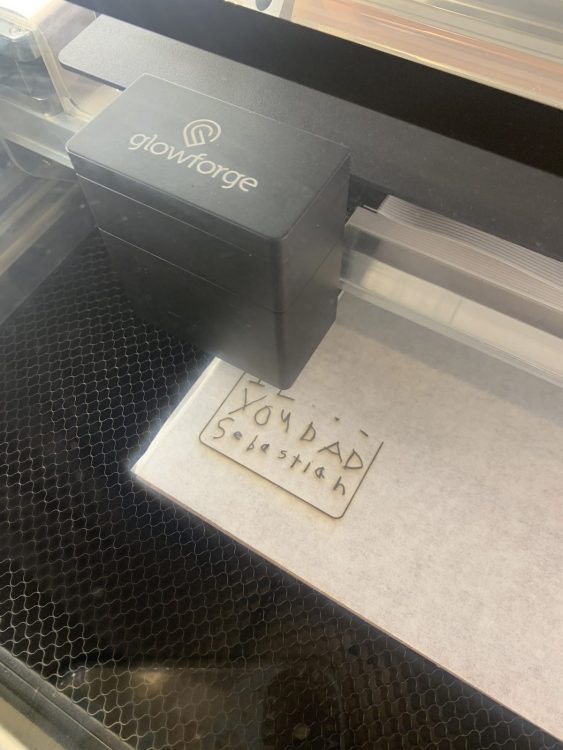
- How to Digitize Handwriting for the GlowforgeStart by having your child write on a piece of paper using a pencil or pen. For this project, Sebastian was given a box to write in to try and contain his writing a bit, but then decided not to use it so you'll see how the box is deleted later in these instructions. Take a photograph of the handwriting using your phone (or scan it). You'll notice that my thumb is in the photo—that's fine and easy to delete when you clean up your image.
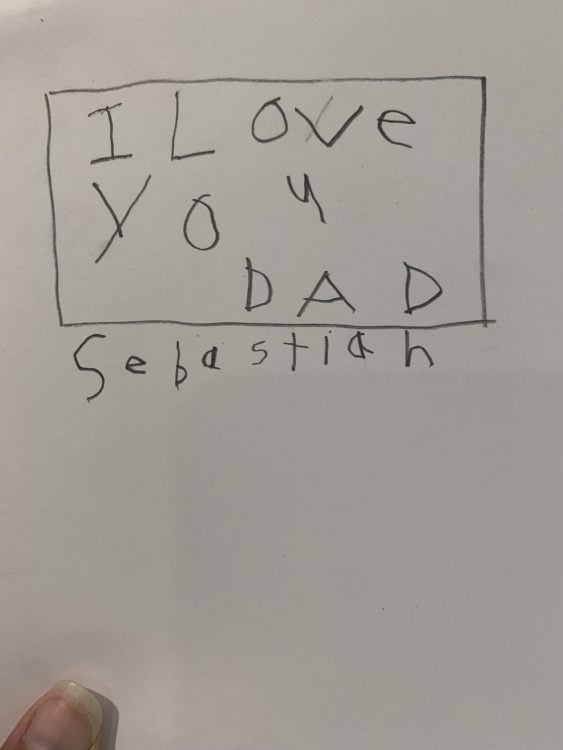
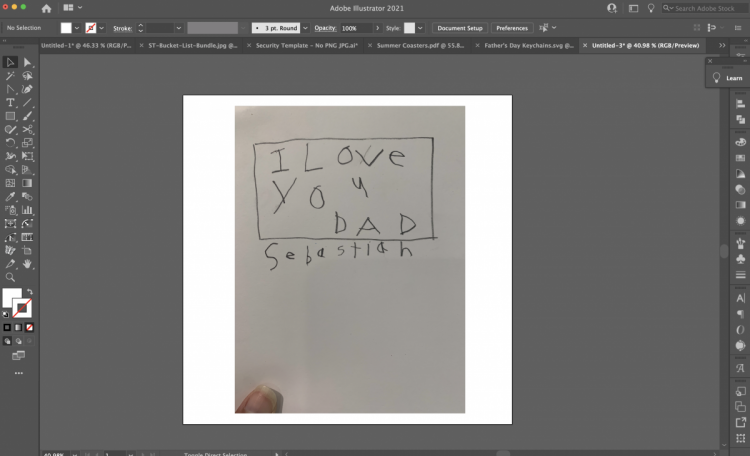
- If you have a newer iPhone, your photo will be in the HEIC format, which most programs cannot open. Use the HEIC to JPG converter to convert your photo into a JPG.In Illustrator, create a new document and then "place" the photo you took into your artboard. You'll be able to resize it later, so don't worry too much about how big it is right now.
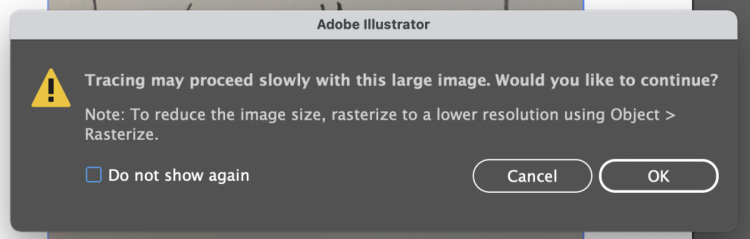
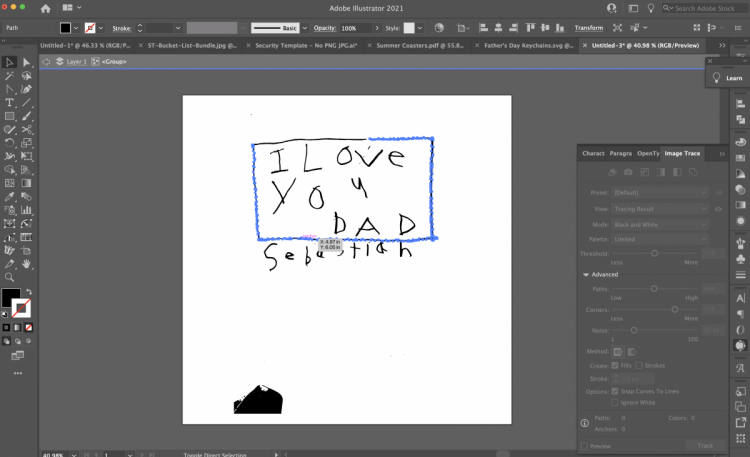
- With the photo selected, click "Trace" in the menu bar at the top. You may get a warning that says it may be slow because the image is large. Click OK.
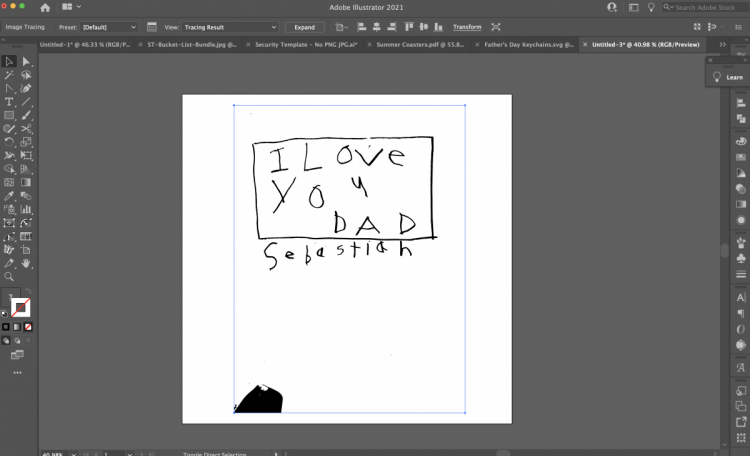
- Illustrator will turn your image from a photograph into a vector (cuttable) file.
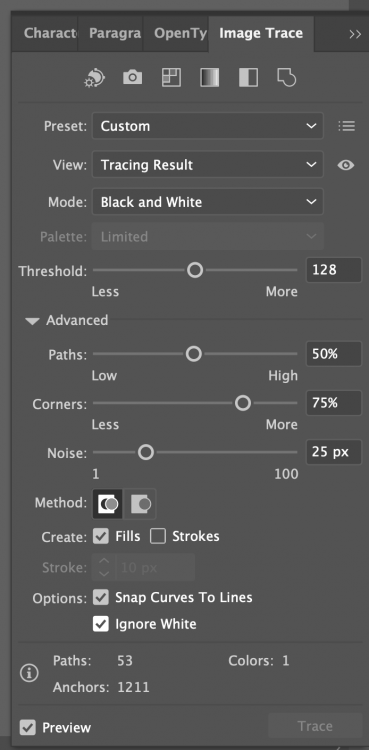
- If you open the Trace panel (Window > Trace), you can refine how Illustrator treats your image. You can change the thresholds and tracing options here. Make sure to check "Ignore White" toward the bottom, which will save you from having to delete a bunch of random white parts of your image after it's traced.
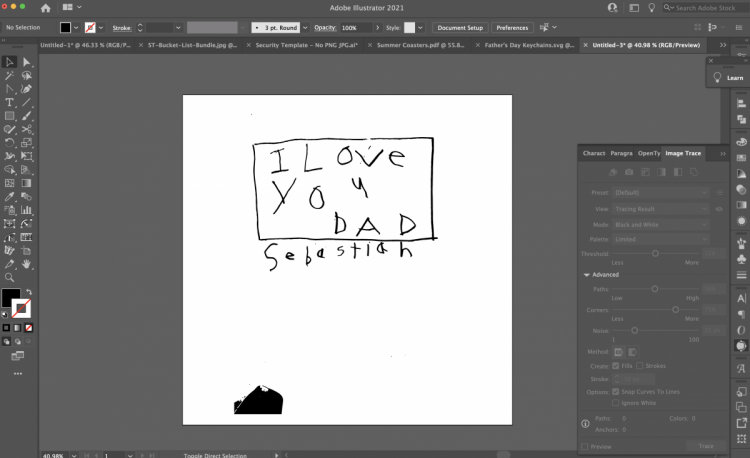
- Once your image looks good, click "Expand" in the top menu bar and Illustrator will outline your image into a vector file.
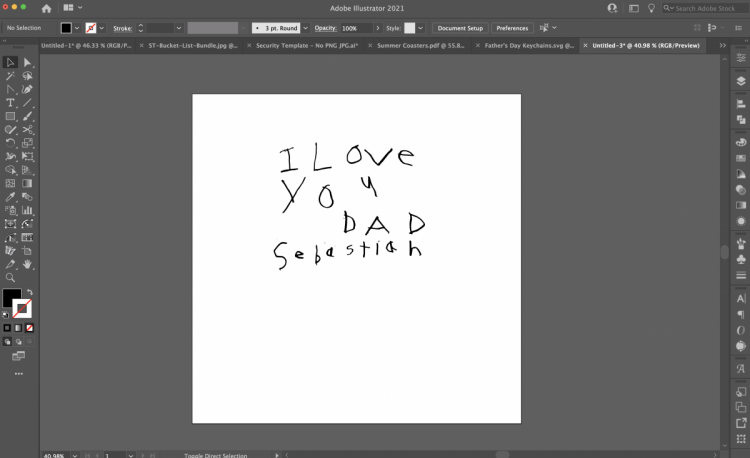
- Now you can clean up your file by double clicking the image and going into "isolation mode." This will allow you to select individual parts of your image and delete them.
- Delete all of the parts of the image you don't want. For example, for this image the rectangle was deleted around his writing, the image of the thumb, and a bunch of random "dust."
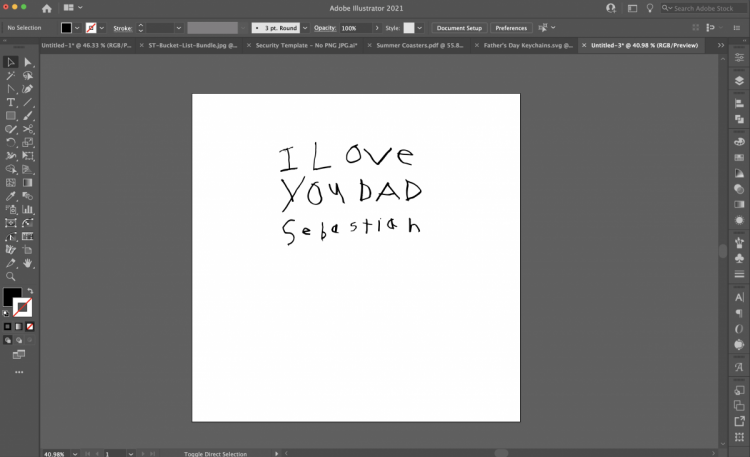
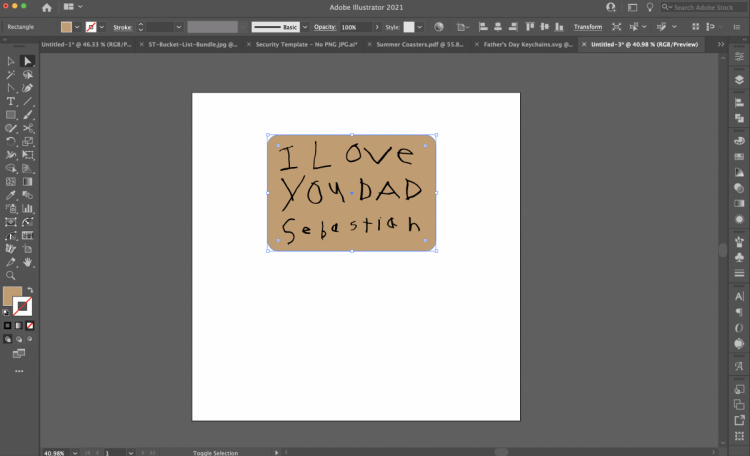
- Because this image needed to fit on a a smaller rectangle, the image was double clicked on once again and did a little letter moving. It's not 100% his original layout, but even though things were moved, it still kept the spirit of the writing and made it fit better overall.That's it for editing the handwriting! If you want to use this on a project without creating a shape behind it, select the handwriting and go to Object > Compound Path > Make. Export as an SVG and cut!
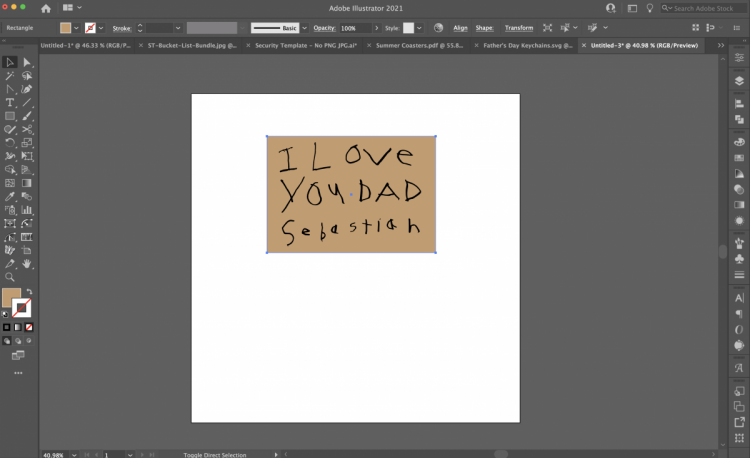
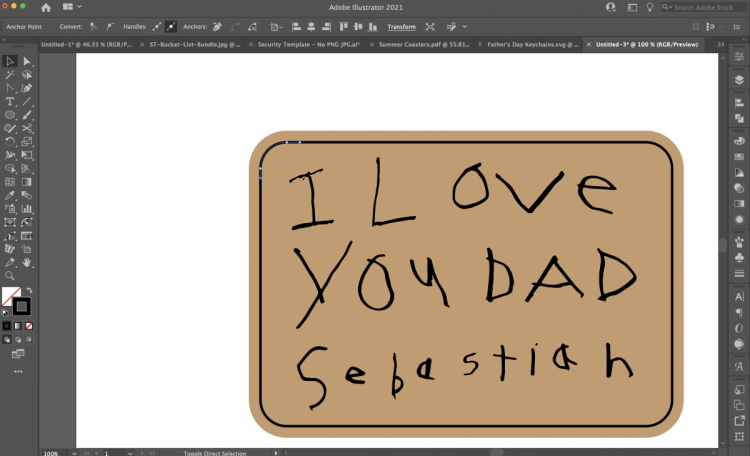
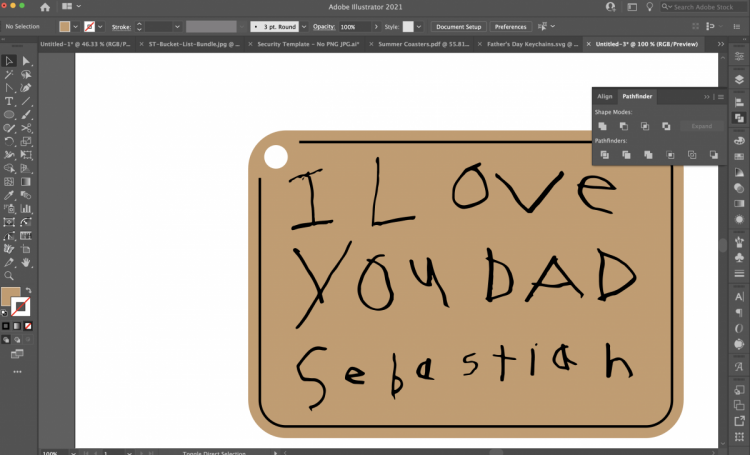
- Create the Keychain Shape + HoleNow that we've created the file to engrave your child's handwriting, let's use some basic Illustrator skills to make the keychain shape! Start by using the Rectangle Tool in the toolbar on the left to make a rectangle around the edge of your writing. Use Object > Arrange > Send to Back to send the rectangle behind the writing. This one was made to be light brown to show that it would be cut in wood.
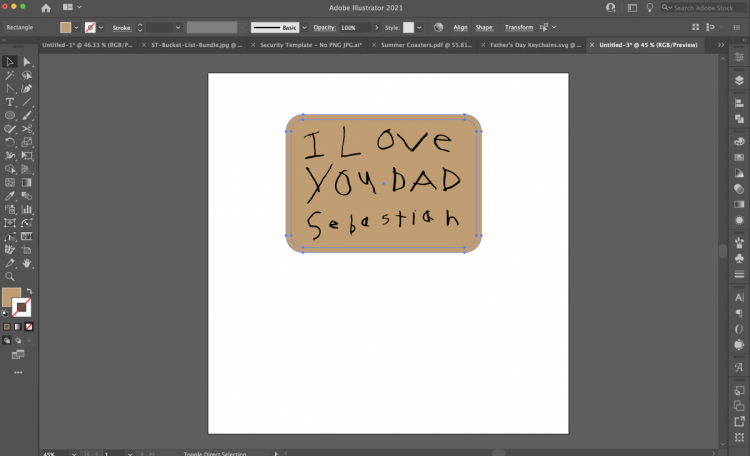
- Select the rectangle and click A to choose the Direct Selection Tool. You'll see small dots just inside each corner. If you click on one of these dots, you can drag the corners to create rounded corners. Drag the corner until you have a rounded corner you like. Learn more about using Live Corners—this is one of those features in Illustrator that is used all the time!
- Select the rectangle and go to Object > Path > Offset Path. This will create a second rounded rectangle around your first one. You can play around with the settings here to make your offset larger or smaller.
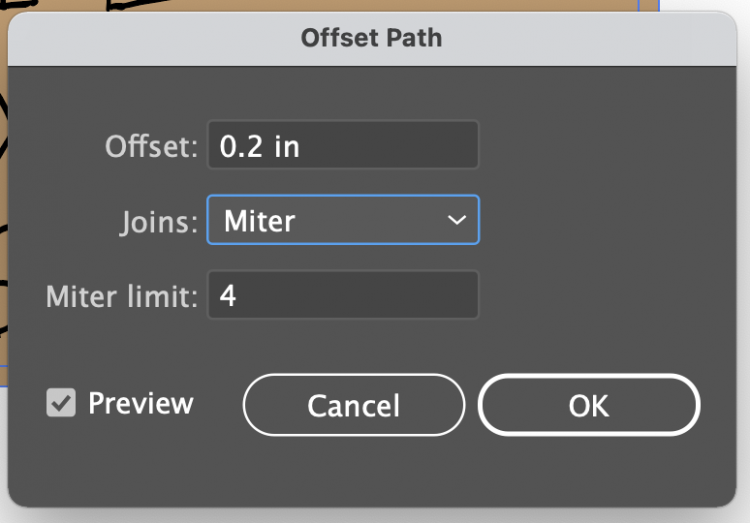
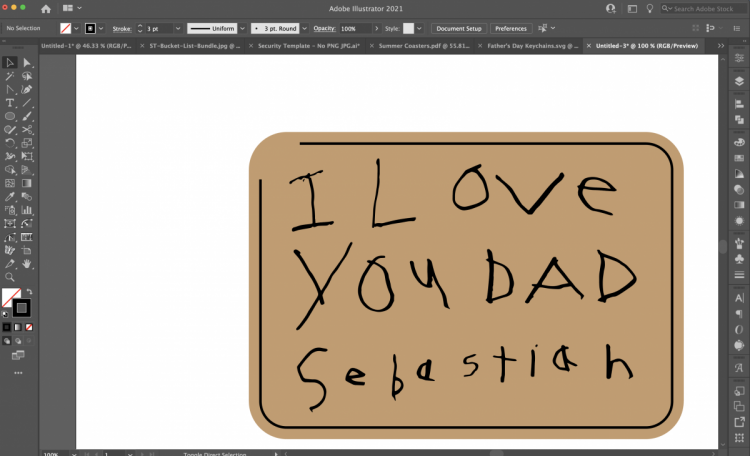
- Click OK and Illustrator will create your new, slightly larger rounded rectangle.
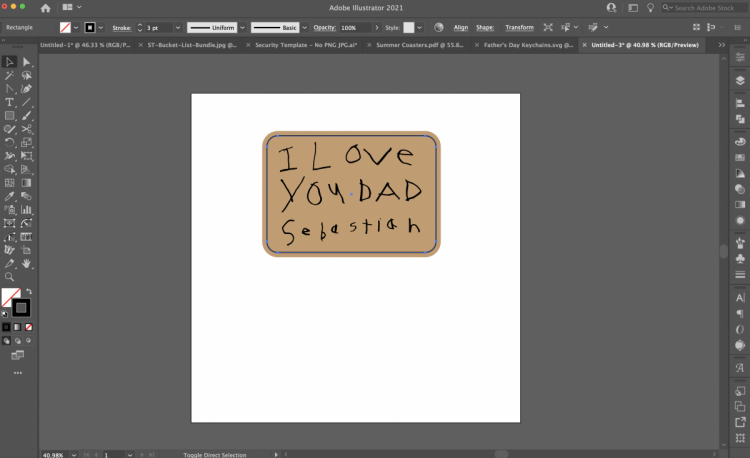
- Now we're going to turn that inside rounded rectangle into an engraved line. Select it and change it to a stroke with no fill. You can play with the weight of the stroke until you have something you like. This one ended up with a 3pt stroke.
- Now we want to create a break in that engraved stroke so we can add the hole for hanging. You may want to zoom in a bit if that helps!Click C to select the Scissors tool. Then click on the stroke and it will "cut" your line. I cut my line on either side of the upper left corner radius.
- Then delete that corner piece of the stroke.
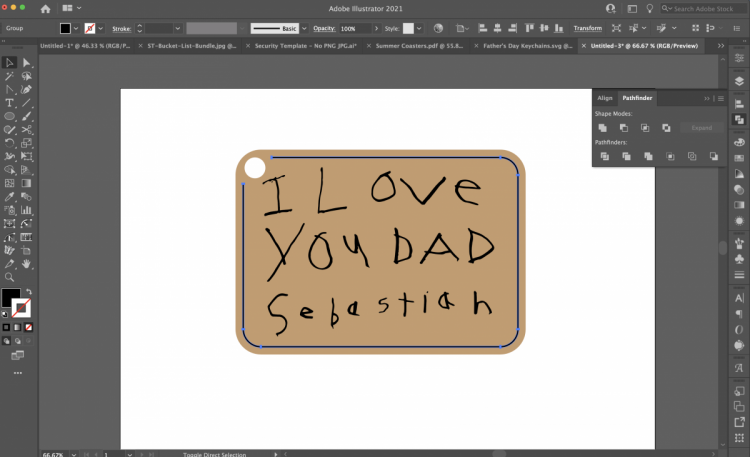
- Now let's create the hole for the keychain. Use the Circle tool in the left tool panel to create a small circle and place it on your rounded rectangle.
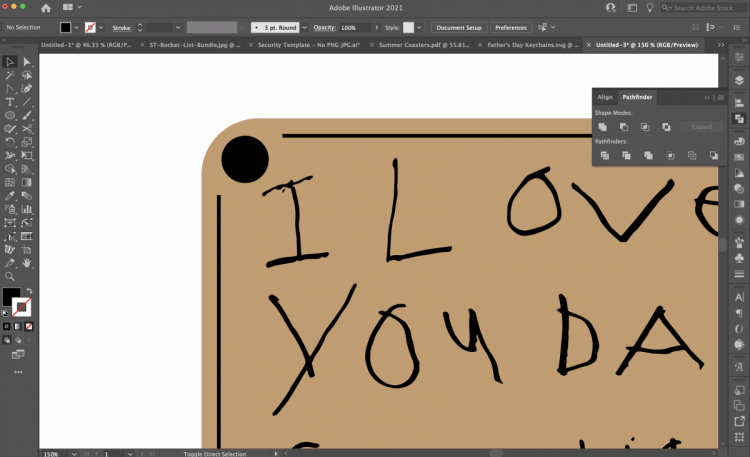
- Then select the circle and the rounded rectangle and open the Pathfinder panel (Window > Pathfinder) and click the Minus Front tool (top, second to the left).
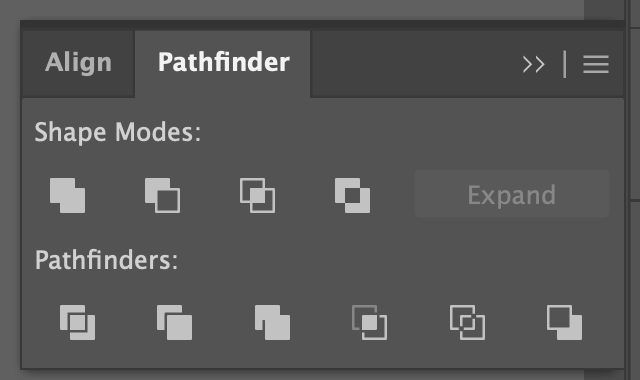
- This will create a hole in your rectangle.
- We're almost there! Click the black stroke and click Object > Expand. Make sure both Fill and Stroke are checked and click OK. This will turn your stroke in to a shape.
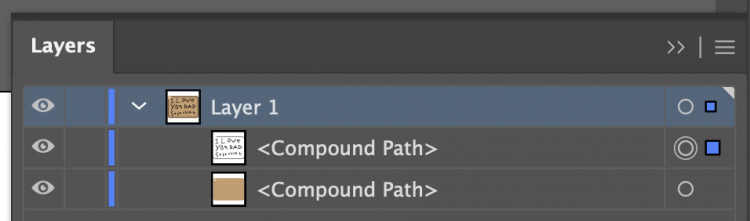
- Then select that line and the writing and click Object > Compound Path > Make. This will turn the outline and writing into a single image to engrave.When you open the Layers Panel, you should see one Compound Path for the tag and one Compound Path for the engraving. If you have more layers, make sure to select all of the text and the outline and make them a single Compound Path.Save the file as an SVG and you're ready to make your project!
- Engrave a Child's Handwriting with a GlowforgeNow it's time to fire up the Glowforge! Turn it on and let it do its warm up magic.Place your material in the Glowforge. I'm using proofgrade medium walnut. If you are using a non-proofgrade material, add masking to either side to help prevent scorching or flare ups.Open the Glowforge App software. Click Create > Upload From File. Then upload your SVG to the Glowforge app.

- It will come in as two engraving layers, so change the tag layer to cut instead of engrave.
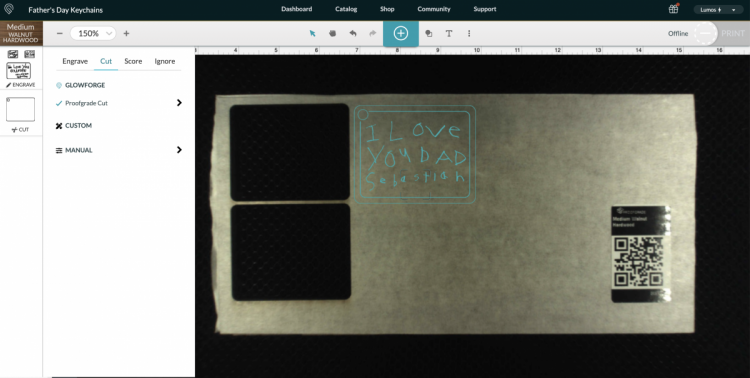
- You're ready to cut and engrave your image! Click Print in the upper right and follow the prompts to make your project. The tags for this project took about 15 minutes each to engrave and cut.
- Peel off all of the masking from both sides, add a keychain finding and you're done!