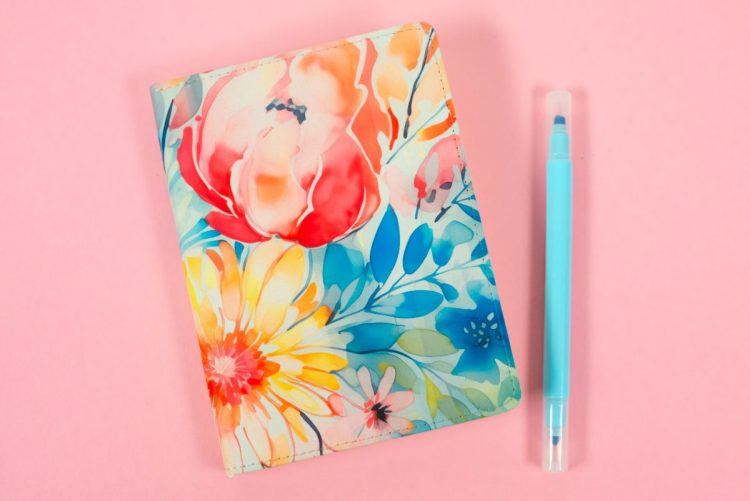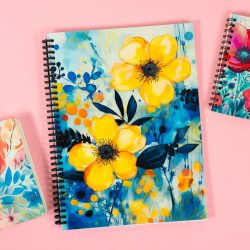
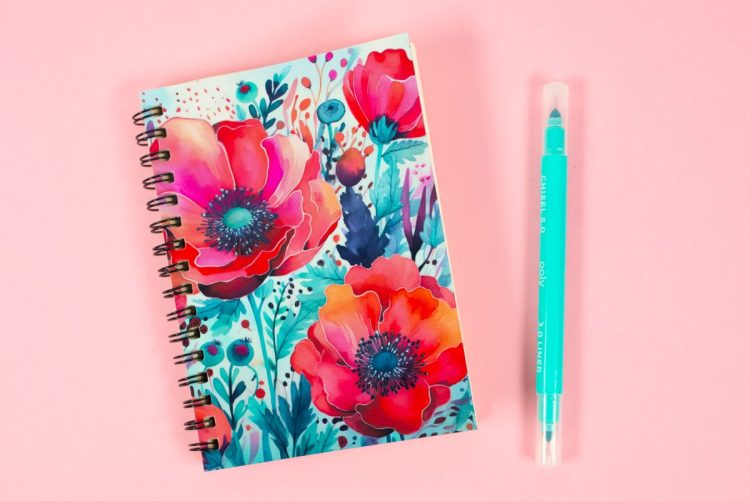
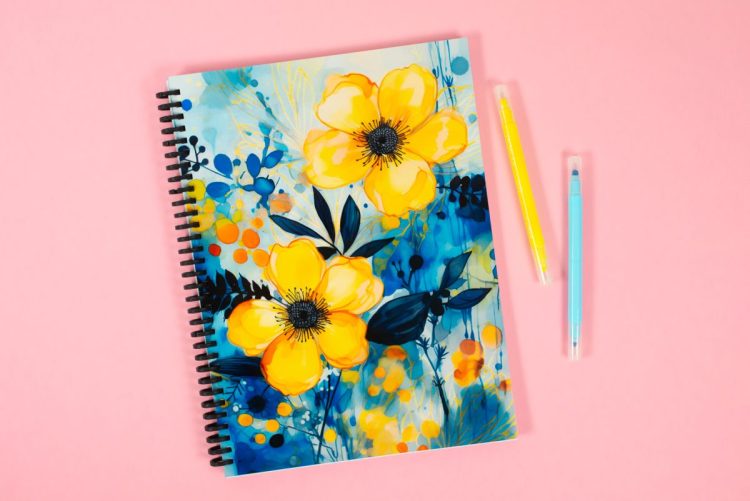
CUSTOM SUBLIMATION JOURNALS
Create one-of-a-kind, personalized journals using sublimation! There are endless ways to journal, so I'll share my tips for creating the journals, as well as five tips to get started journaling!
Ingredients
Instructions
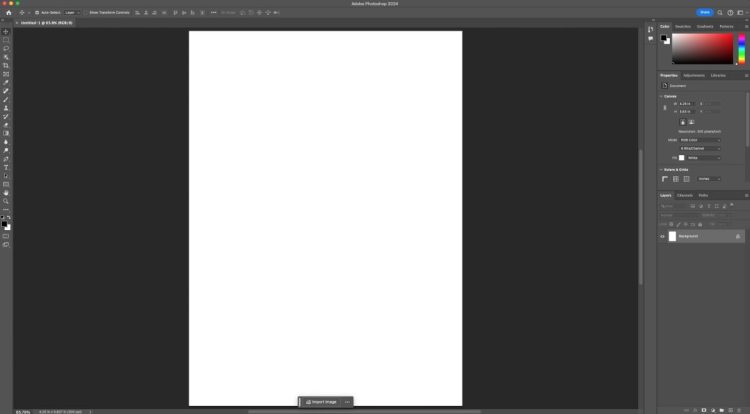
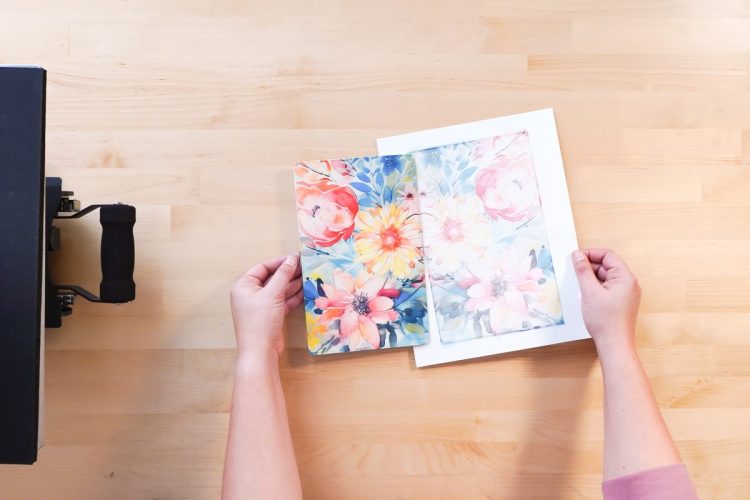
- How to Make a Sublimation JournalsPrint Your ImagesIf images need to be of a certain size, print them from Photoshop. You can also print from other programs like Google Docs or Cricut Design Space. But Photoshop makes it easy to size an image perfectly for your project.Start by creating a new document slightly bigger than your journal cover (sizes for the journals used are above). So for the small 4.125" x 5.75" coil-bound journal, 4.25" x 5.875" was used as the document size.
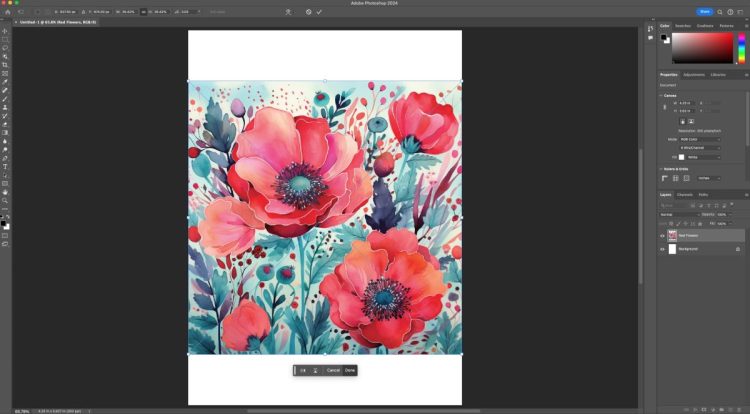
- Then Place your PNG. Go to File > Place Embedded and navigate to the image you want to put on your journal. Photoshop will automatically size it to fit the document.
- In the Print box, a Sawgrass printer was chosen. You can also print through Sawgrass PrintMate, which will give you more sublimation settings. You also want to select "Printer Manages Colors" if you are using a sublimation-specific printer. If you are using a converted printer, choose your ICC profile here if you have one.
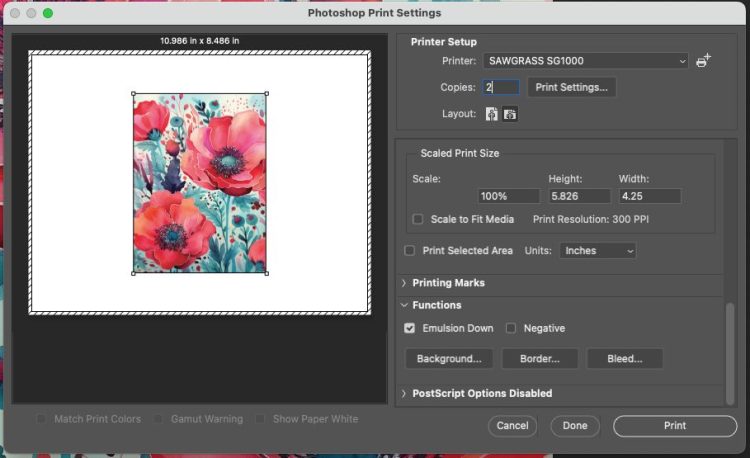
- If you have an image that must read a certain direction, make sure to scroll down in the print setting and choose "emulsion down" under Functions—this will reverse your image. Then click print and your image will be sent to your Sawgrass or other printer!
- Journal Pros and ConsSmall Faux Leather Journal: - easy to use, easy to buy on Amazon, a bit smelly, small,
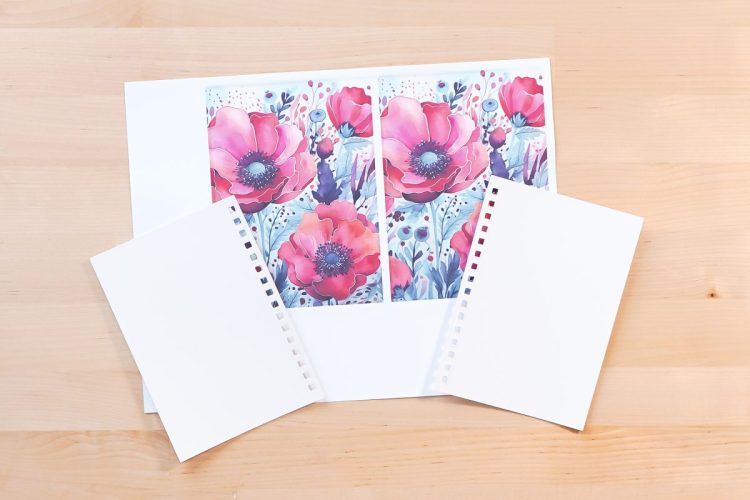
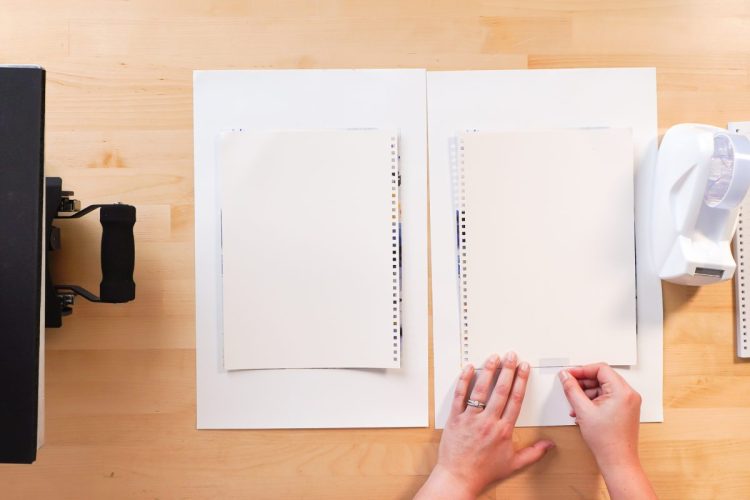
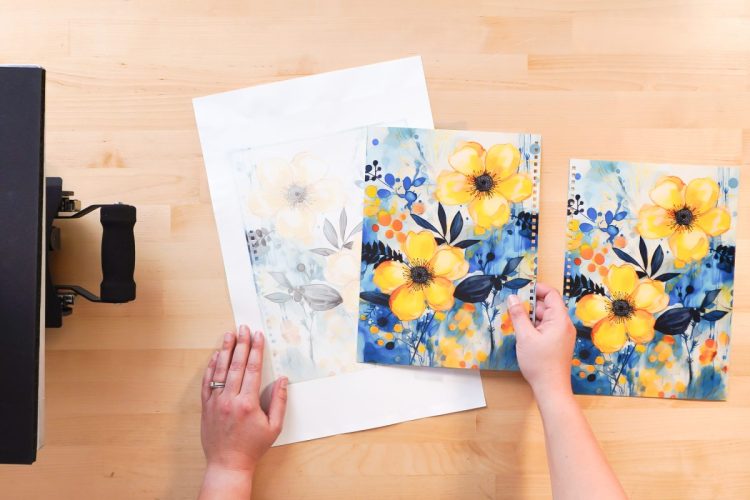
- Pressing the Small Coil Bound Sublimation NotebookTime: 60 secondsTemperature: 365° FPressure: mediumLet's start with that small coil-bound sublimation notebook. You'll want to sublimate on the shiny (almost glittery!) side of the cover. Make sure you place the binding edge of each cover piece opposite the other, or else your back cover will be upside down.
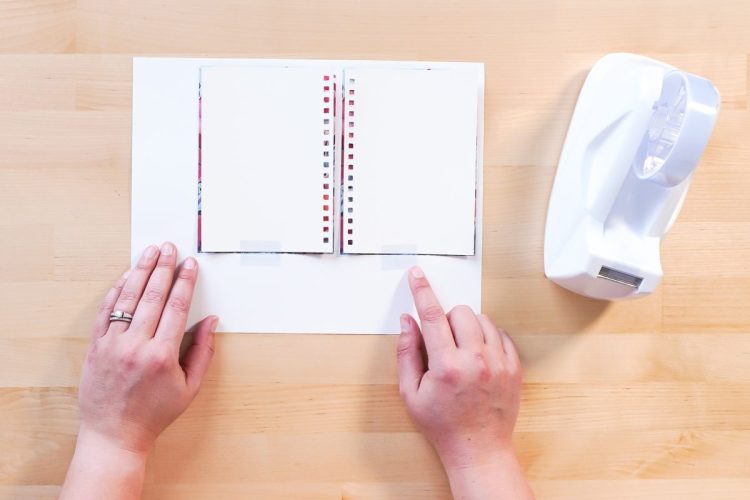
- The tape REALLY stuck to the inside covers and was very difficult to remove, so just use as much tape as needed to secure your covers to the image.Then place a piece of butcher paper on the bottom of your heat press pad to protect it. Then flip over the notebook covers so the covers are facing up and the image is facing down on top of the covers. (NOTE: If you do it the other way, your image will be faded—that was my first attempt!).

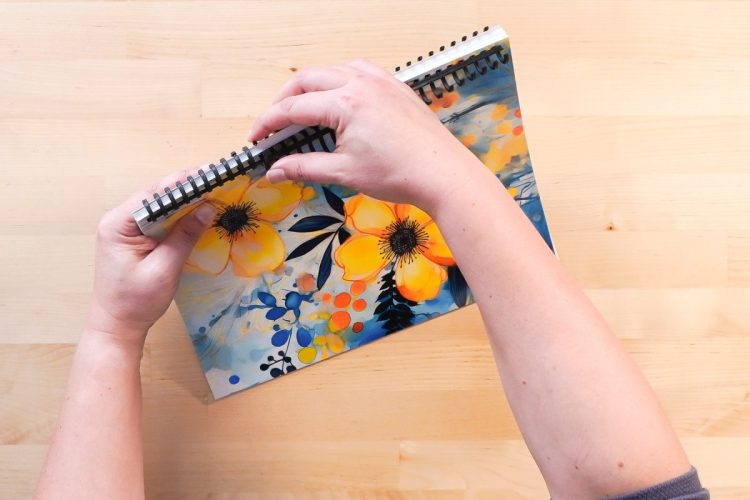
- Place another sheet of butcher paper on top to protect your press and press for the recommended time and temperature above.When the press is done, remove the covers from the press and place something heavy on top so that the cover curls less.Then you can add the covers to the binding, slipping the holes in the cover under the prongs of the binding. This was the least favorite binding of the three—the coils bend easily and it's just difficult to get the cover on.
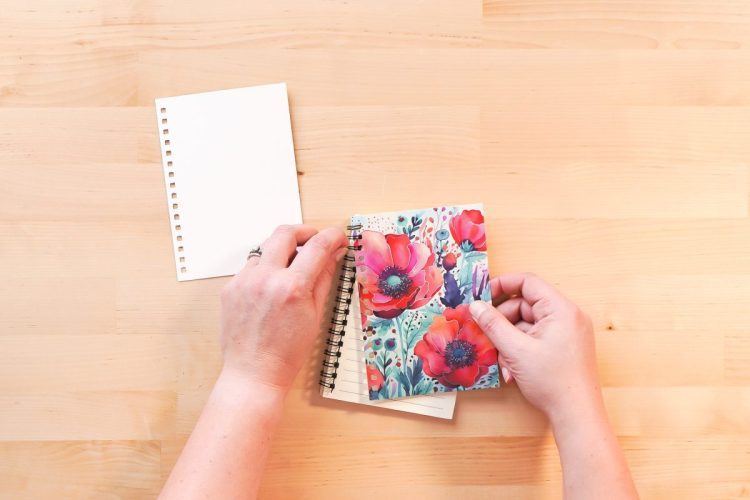
- For the back cover, flip the cover over and add it in the same way. Then spin it all the way to the back.

- Pros: These notebooks are easy to purchase on Amazon and came out to only $4 per notebook when buying a pack of three). The cover sublimated beautifully and was really vibrant.Cons: It was smaller than listing (not A5, which is closer to 6" tall). The pages have a yellow cast to them and found them the most difficult of the three to assemble. These were the least favorite of the bunch, mostly because of the binding.
- Pressing the Large Click Bound Sublimation NotebookTime: 60 secondsTemperature: 365° FPressure: mediumSublimating this journal was exactly like the one above, but larger. The 11" x 17" paper was used for this notebook.
- This one had to be pressed in two presses since each cover was large.
- This was the favorite binding of the three! Assembling the click binding of this notebook was not only easy, but found it just really satisfying to click all the little bindings into place. Just pinch each binding closed with a snap!
- Pros: The cover sublimated beautifully and was really vibrant. The click binding and the size were liked the most out of the three. These were nearly $8 each, but they were more than 4x the size of the smaller coil-bound journal, so still well-priced. These were the favorite of the bunch.Cons: A larger notebook could not be found like this on Amazon, so was one was purchased from Etsy. Took a bit longer than Amazon to ship, but got here relatively quickly.
- Pressing the Small Faux Leather JournalTime: 80 secondsTemperature: 365° FPressure: mediumNow let's finish up with the faux leather journal. For this one, you will be sublimating the cover as a single piece, vs. two separate covers.You'll notice that there's an extra piece of cardboard. This needs to be placed in between the two panels of your journal. This will ensure you don't have any fading on your cover.
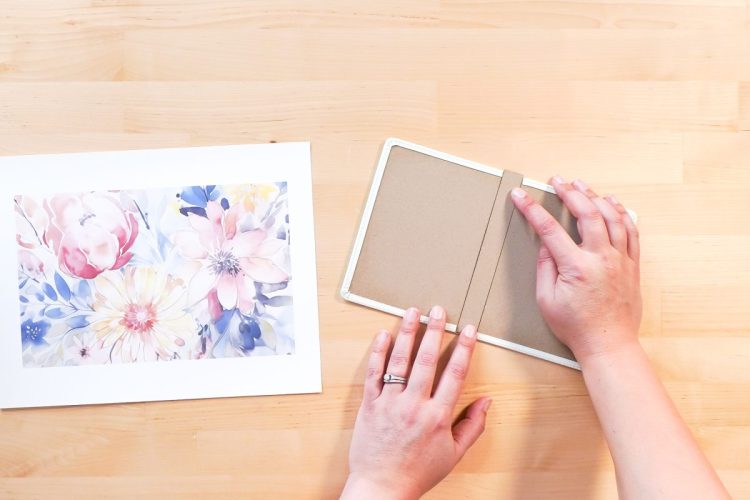
- Tape your cover to the press and press according to the above settings.
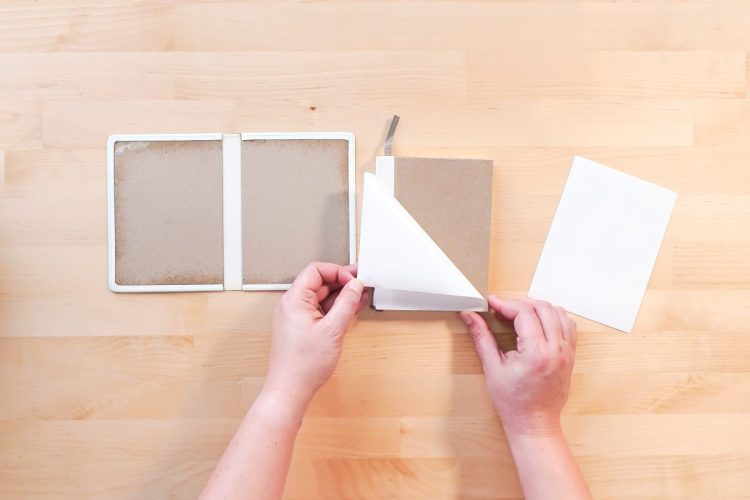
- Assembling these is a bit different. Remove that center piece of cardboard you added. Along with your journal insert, you should have two adhesive sheets. Peel back the adhesive from the first sheet.
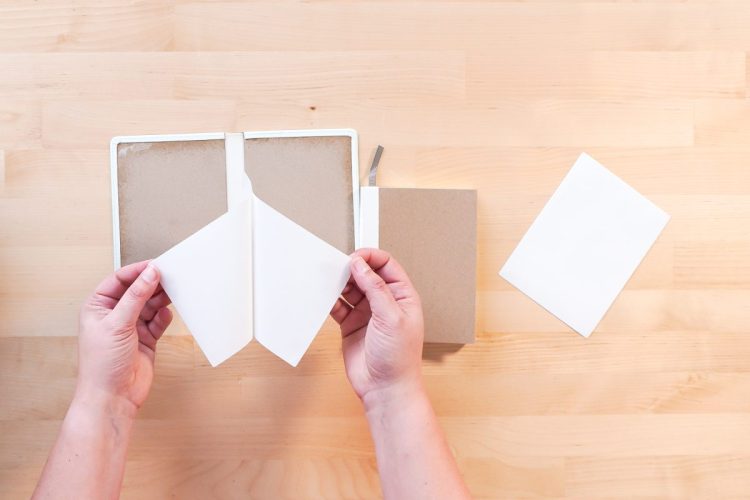
- Then carefully place the sticky side of the sheet on one side of the journal insert. Peel back the other backing piece on the adhesive.Then place the journal insert inside the journal cover. Repeat on the other side to secure the journal insert into the cover.
- Pros: While the cover was a bit less vibrant and more soft because of the faux leather, it did sublimate beautifully. Assembling wasn't very difficult. About $5.50 was paid per journal (a pack of 4 for $22). It also included a gray ribbon bookmark, which was a nice touch.Cons: The journal won't lay flat when writing in it (though most similarly bound journals have the same problem). You can hear the adhesive straining as you open the pages. While the journal turned out lovely, it's not one that you would particularly like to write in.