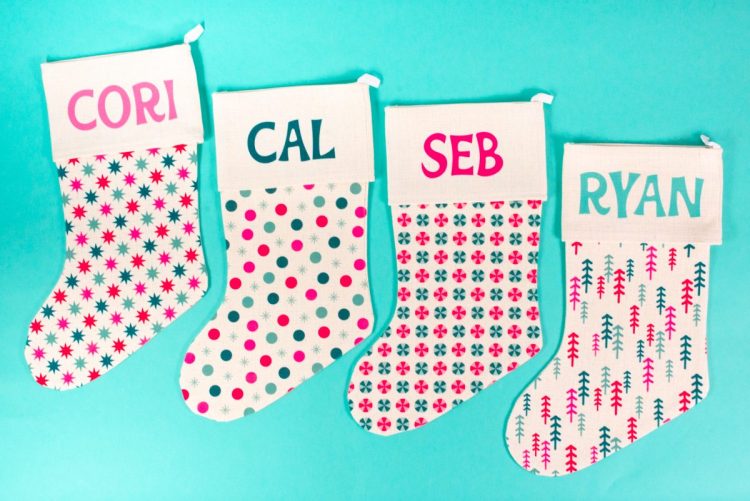
CUSTOM SUBLIMATION CHRISTMAS STOCKINGS
Create one-of-a-kind stockings using sublimation! Here are all of my tips and tricks to make sublimation stockings. They are a perfect project for beginners and make a great addition to your holiday mantel!
Equipment
Instructions
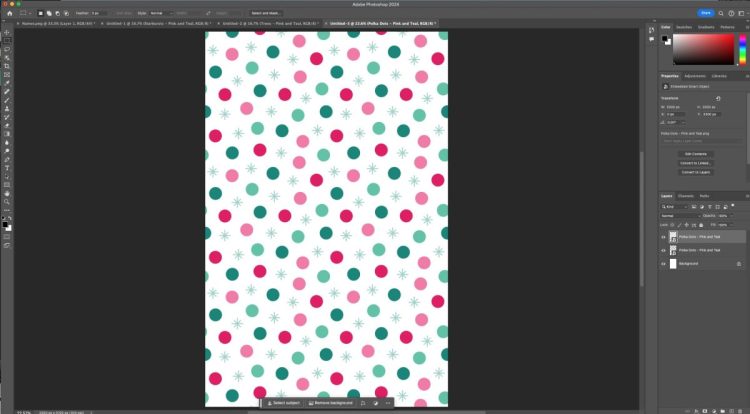
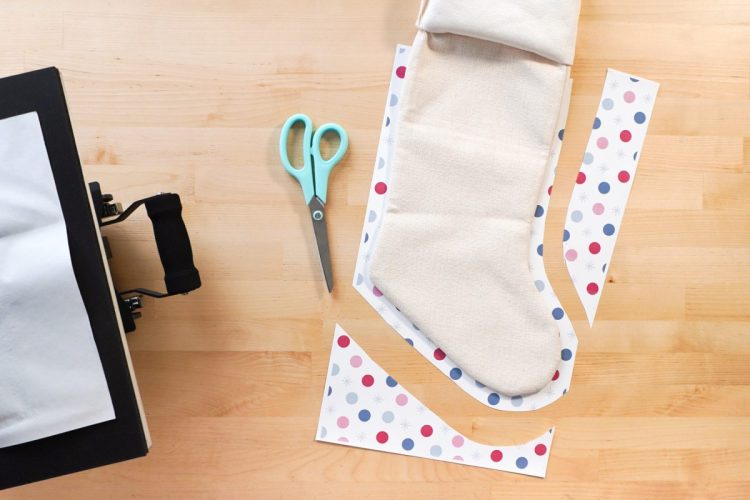
- Print Your ImagesFor this project, Photoshop was used, and there are two different images: the pattern for the bottom of the stocking and the name on the cuff. You can use whatever program you'd like, but Photoshop makes it easy to tile the PNG to fit an 11" x 17" piece of paper.A Photoshop document that is 11" x 17" was created and then PNG image was placed (using Place Embedded) and hit enter. Then place the same PNG image right below it and hit enter.
- Then go to File > Print to print the image.
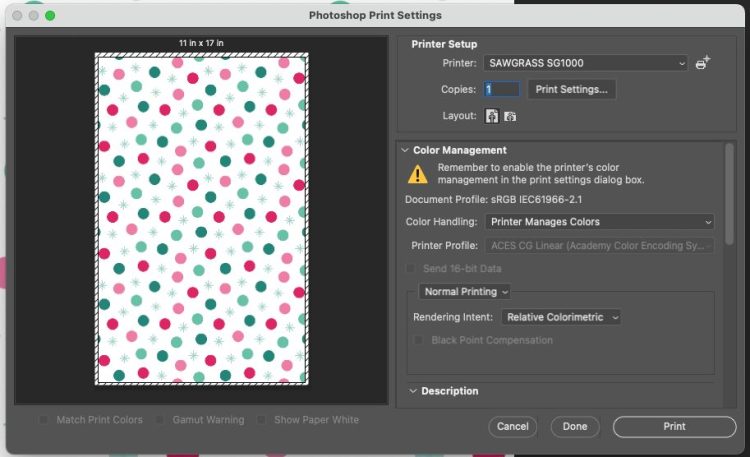
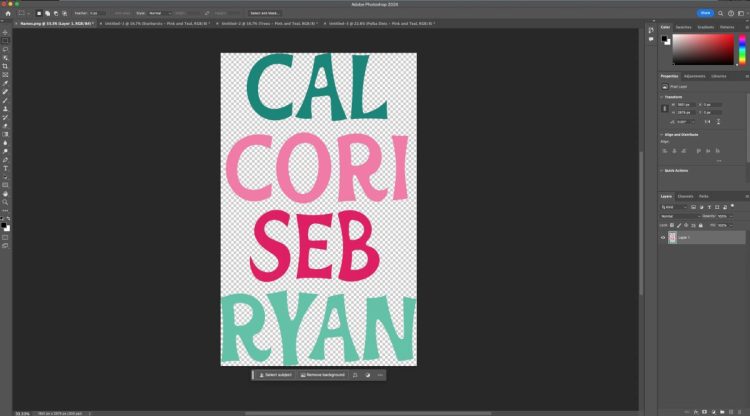
- In the Print box, make sure to click Print Settings to change the paper to 11" x 17". The Sawgrass printer was chosen. You can also print through Sawgrass PrintMate, which will give you more sublimation settings. You also want to select "Printer Manages Colors" if you are using a sublimation-specific printer. If you are using a converted printer, choose your ICC profile here if you have one.If you have an image that must read a certain direction, make sure to scroll down in the print setting and choose "emulsion down" under Functions—this will reverse your image. Then click print and your image will be sent to your Sawgrass or other printer!For the cuff of these stockings, go back into Photoshop and create a simple file with the names for all your stockings (using the font Jolly Wonder) and print that as well.
- Prepare and Prepress Your Blank StockingCheck the manufacturer's instructions for the recommended settings for time, temperature, and pressure. For my stocking, they were as follows:Time: 60 secondsTemperature: 400° FPressure: medium to firmSet your heat press. If you are using a traditional heat press (rather than an EasyPress), test your pressure before it gets hot so you know it will be correct when you press your stocking.Lint roll your stocking to remove any fibers, hair, or dust.
- Pre-press your stocking for 15 seconds to remove moisture and give you a flat pressing surface. If the stocking is larger than the heat press, you will need to pre-press it in two parts.
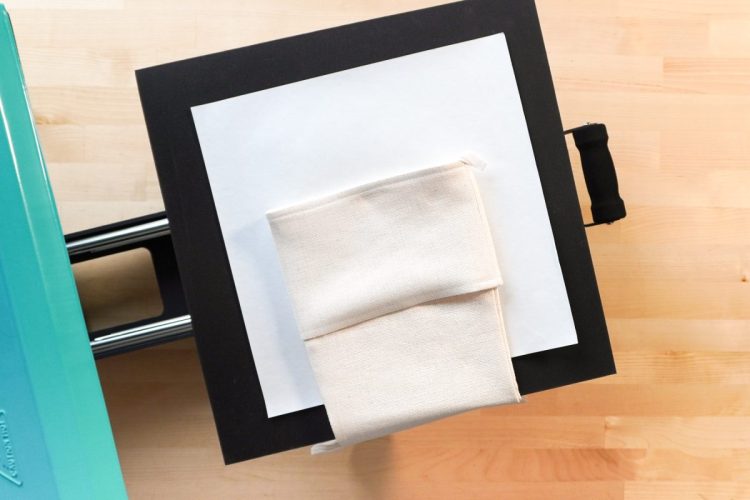
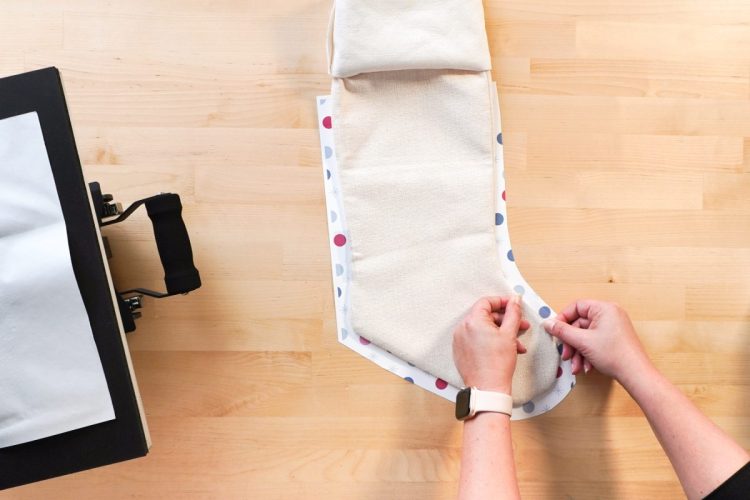
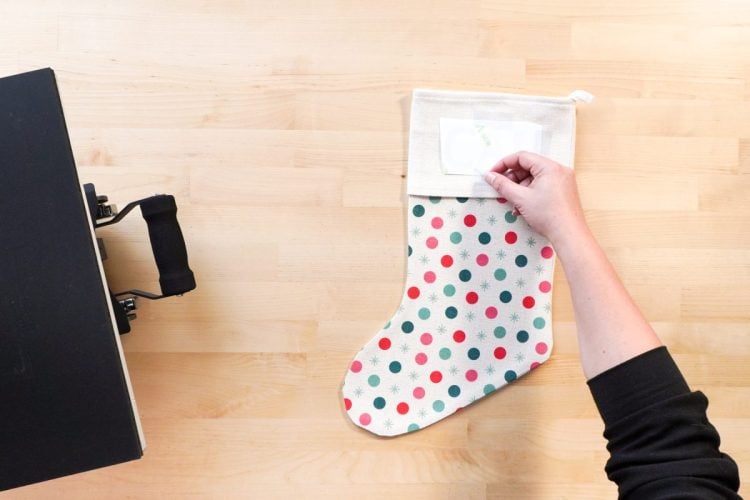
- To make it easier to sublimate the bottom part of the stocking, unroll the cuff.
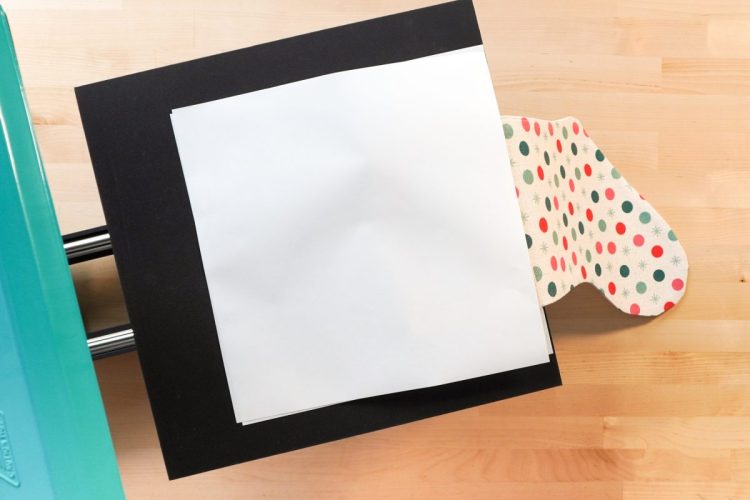
- Trim the excess paper from around the edge of your image so it will fit nicely over your stocking without having too much extra paper.
- Then use heat-resistant tape to secure your transfer face down on your stocking. I actually taped from the back because the image covered the entire front of my stocking.
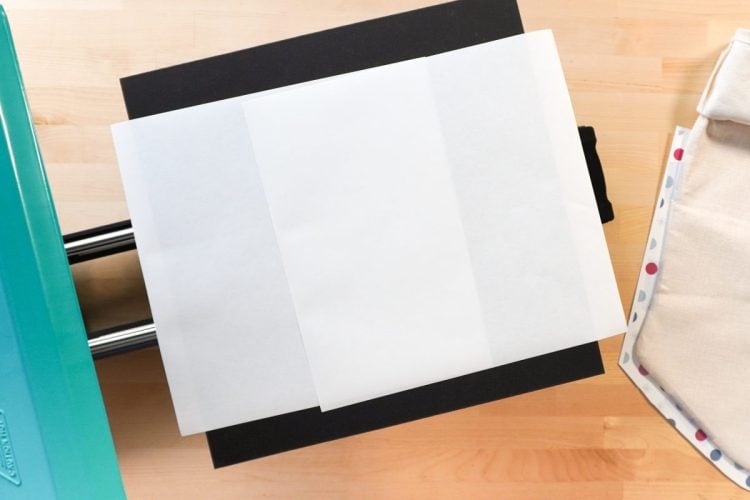
- Cover the bottom pad of your press with butcher paper. This will protect the pad of your heat press from any excess ink.
- Put the stocking with the transfer face down on top of the butcher paper.
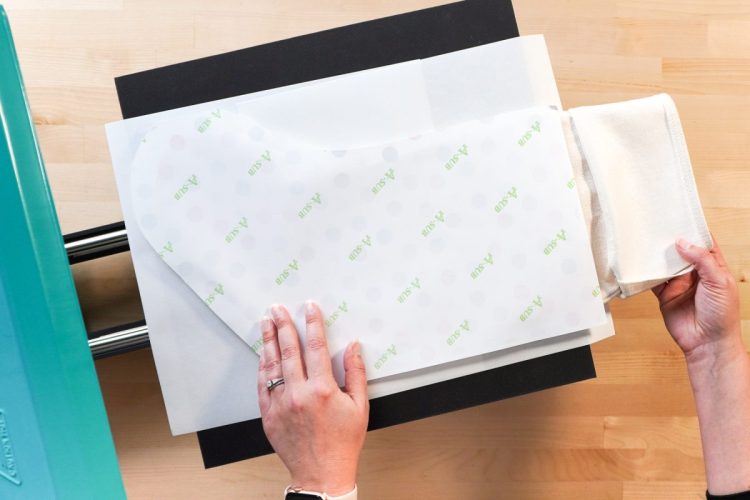
- Add butcher paper on top of your image. This will protect your press plate from any ink that goes through the paper.
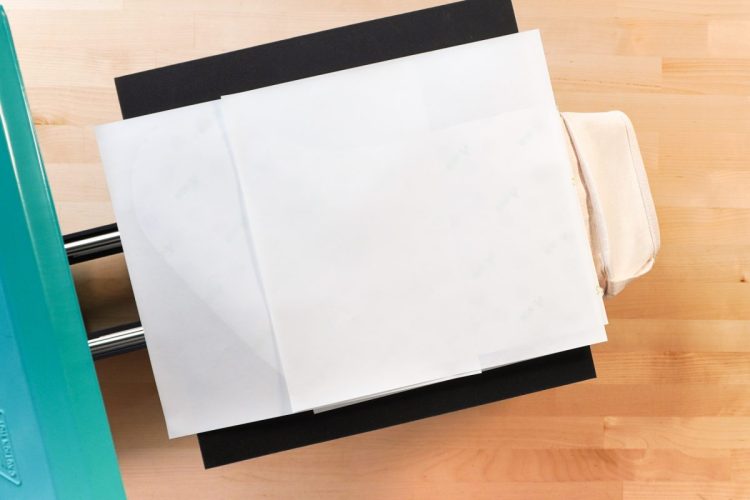
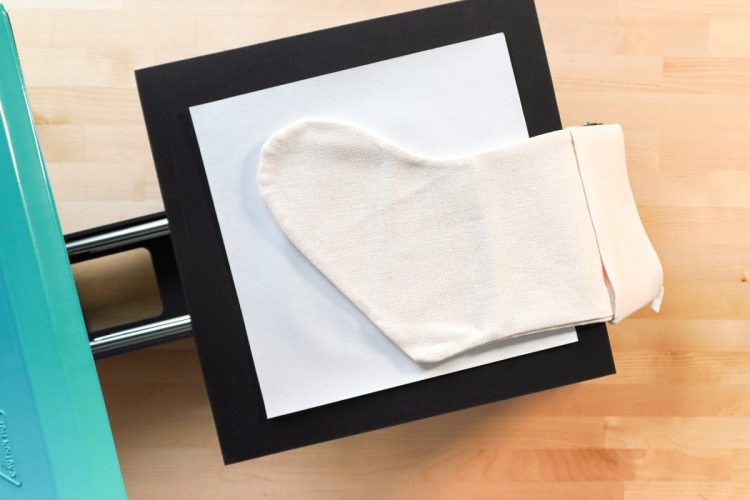
- Press for the recommended time. When the time is up, slowly open your press so your image doesn't shift.Let your image cool for a moment and then peel back the transfer to reveal the first part of your stocking project!Then re-roll the cuff and add the name in the same way.
- Cover with butcher paper and press. Make sure the bottom part of your stocking is not in the heat press so you aren't double-pressing it.
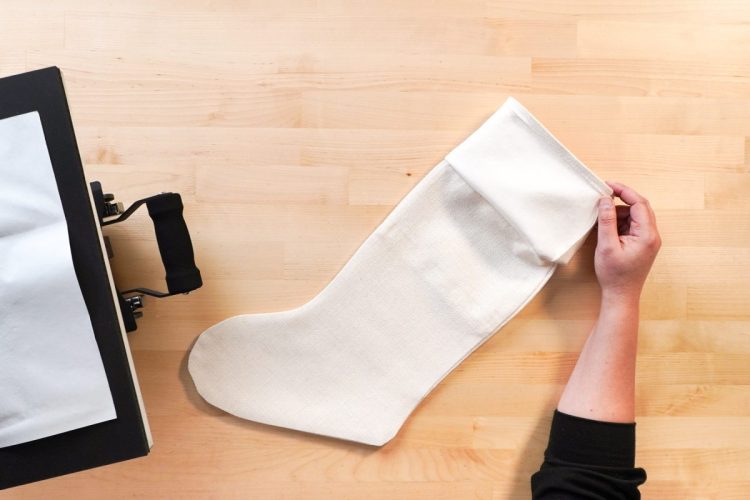
- Let your image cool for a moment and then peel back the transfer to reveal your final stocking!Want a full overview of sublimation? Check out this helpful ebook, The Ultimate Guide to Sublimation!