CREATING A SUBLIMATION IMAGE IN PHOTOSHOP
Adobe Photoshop can be an intimidating program to use, especially for crafters who are new to sublimation. In this post, we'll talk about how to use basic tools in Photoshop for sublimation projects, including how to get the best color.
Instructions
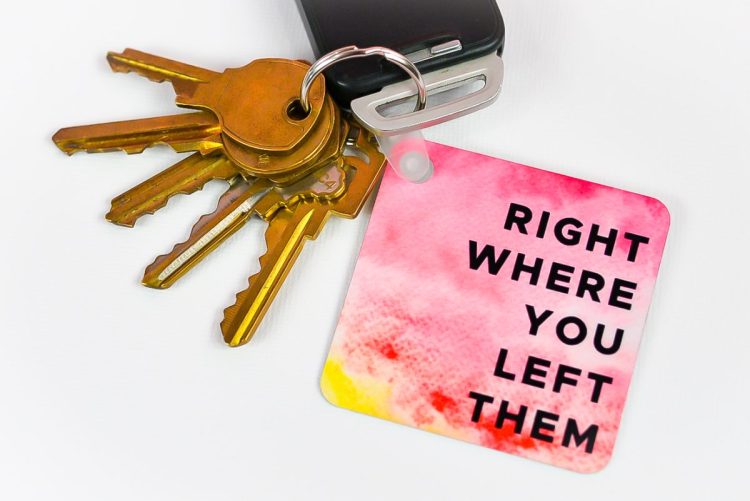
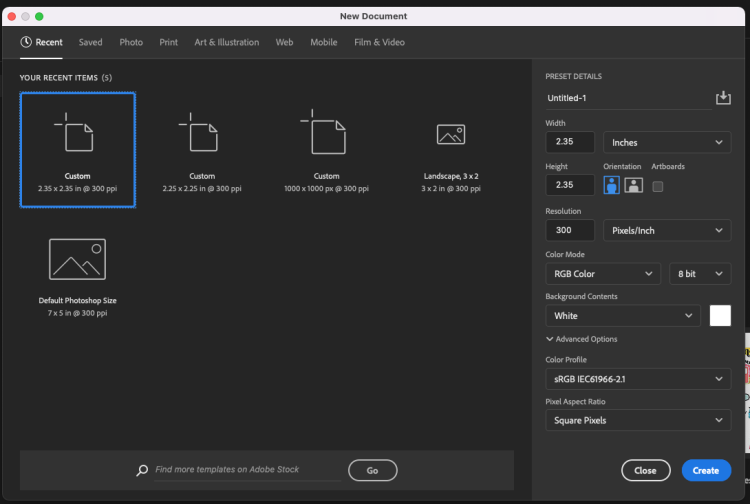
- Start by creating a new Photoshop document. Make your document slightly larger than the blank—that way, if the image isn't pressed perfectly centered, it won't have a white edge around it. Basically this is what is known in the printing world as a "bleed." You can also add a bleed in the print settings at the end, but it is preferable to do it here for most projects.This keychain is 2.25" x 2.25", so a Photoshop document was created that's 2.35" x 2.35". Just a bit bigger than the project.
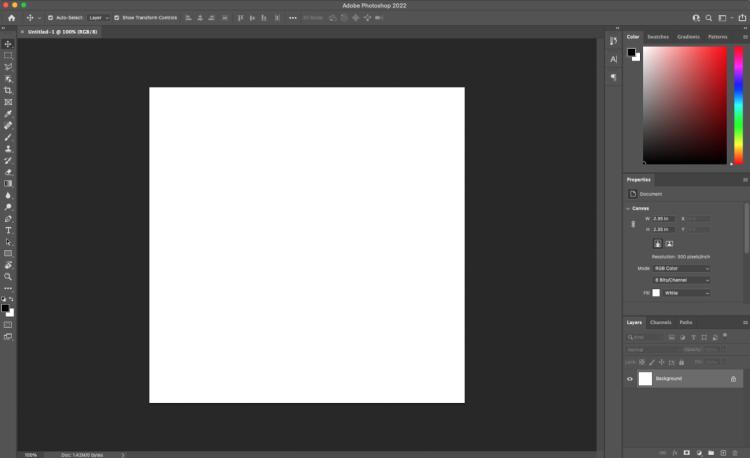
- Your blank document will open in Photoshop. You can zoom in and out in the bottom left corner, or by going to View in the top menu and choosing one of the zoom options there.
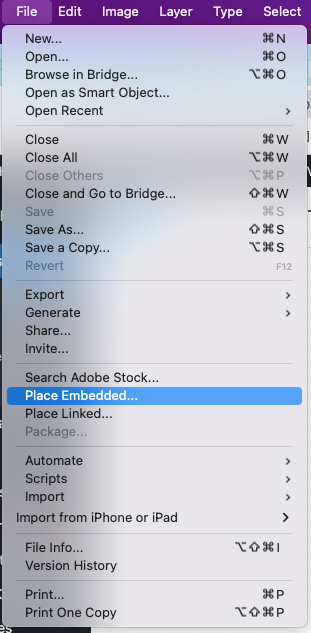
- To make this keychain image, a watercolor background is being used that was purchased from DesignBundles.com. You can use the different brushes and tools to make backgrounds yourself, if you prefer. Click File > Place Embedded and navigate to the file you downloaded.
- When the file is placed, Photoshop will fit it to the canvas.
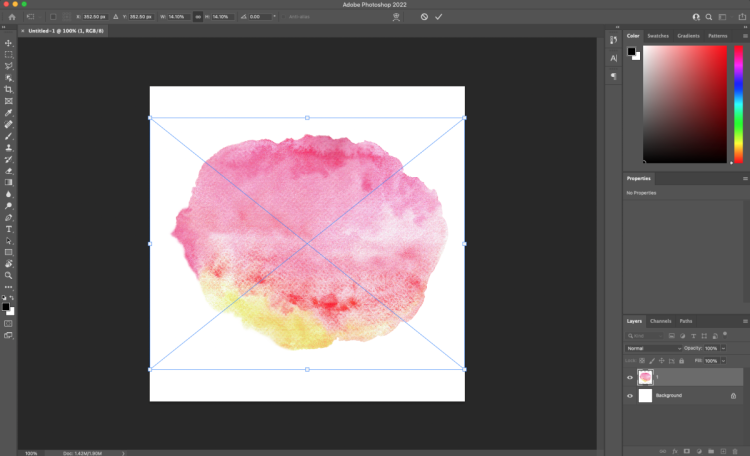
- For this image, we want the watercolor to cover the entire keychain. Use the handles to resize the image. It will be larger than the canvas size. Again, you can zoom out if it helps here.

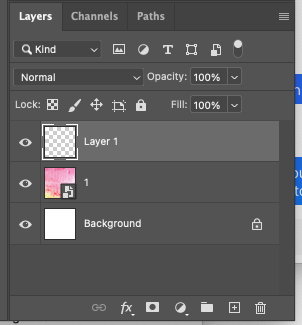
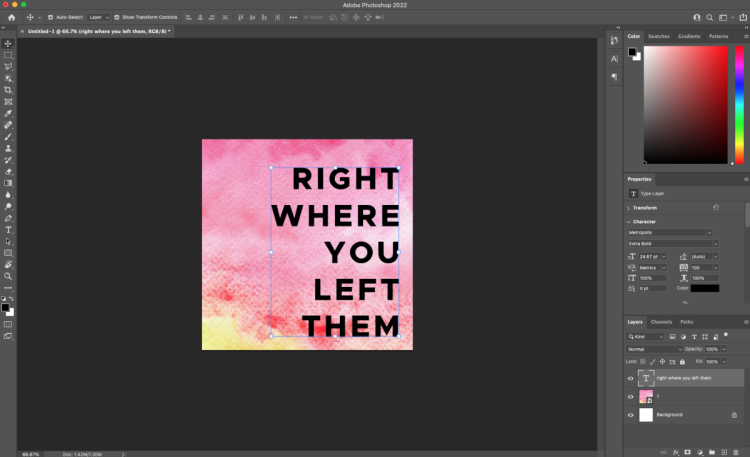
- Once you have your background how you'd like it, you can add text. Create a new layer in the Layers Panel on the right (if you can't see the Layers Panel, go to Windows > Layers at the top). Click the plus sign at the bottom to create a new layer.
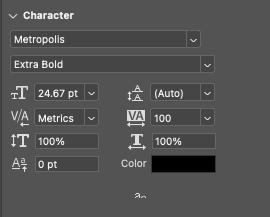
- Then click the Text Tool in the left-hand tool bar and type your text. Next use the character panel to change the size, font, letter-spacing, and more (if you don't see this, go to Window > Properties > Character).
- If you are struggling to select the text to place it where you want on your project, you may need to click the lock button on the layer in the Layers Panel. Then click on the text layer and use the Move tool (at the top of the toolbar on the left—a four-sided arrow) to move it where you want.Before we finish making our keychain, we have to talk color!
- Photoshop Color Management & Using an ICC Profile in PhotoshopColor management is dependent on so many things, including your specific printer, the types of sublimation ink in your printer, the sublimation paper you use, the software you're using to create the images (in this case Photoshop), and the blank you're putting the image on, the humidity in your craft space, there are a LOT of variables.That being said, let's go into using an ICC profile for even better color management, especially if you're finding your sublimation prints are not quite what you expected. An ICC profile is basically a small computer file that makes sure your color is as accurate as possible when you print. Important: I recently did a deep dive into using ICC profiles, which includes how to install ICC profiles on your Mac or PC. Start there—these instructions pick up after you've already installed the ICC profile onto your computer. You have to install your ICC profile first or you will not be able to manage the colors in Photoshop.Using an ICC profile with Photoshop is easy once it's installed!
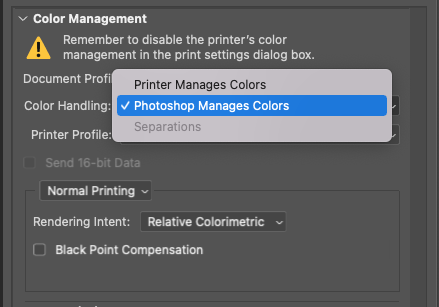
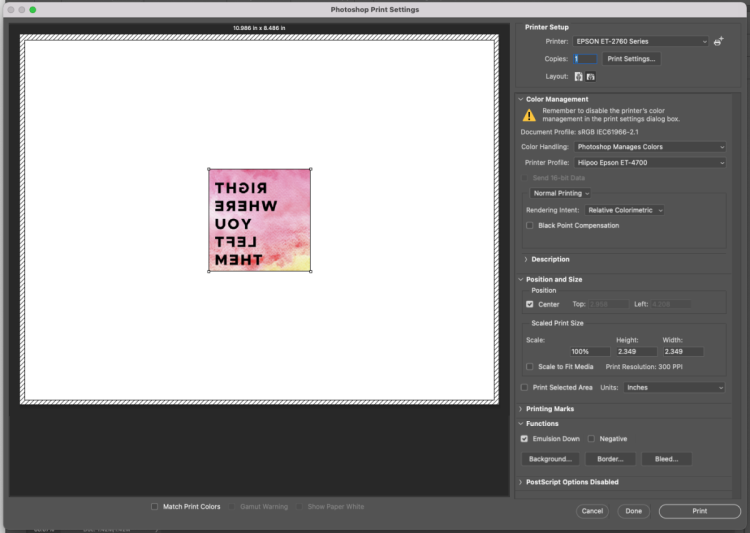
- Once your file is ready to go, go to File > Print and the Photoshop will open the Print Settings window. There are a few things you need to change here.First under Color Management, change the Color Handling to Photoshop Manages Colors.
- From there, you can choose the printer profile. This is where you will choose the ICC profile you installed using the tutorial that is linked above.

- Then, toward the bottom under Functions, you want to select the checkbox for Emulsion Down. This mirrors your image for printing, so it will transfer properly to your blank.
- Click Print Settings at the top. This opens the print settings menu so you can also change your print quality and paper type. Here, the "Quality" print setting was chosen on a Mac. Choose "High" if you are on a PC.Once your image is printed, you’ll transfer it to your blank using the manufacturer’s time and temperature settings. Again, it is suggested to do a test print on a piece of polyester fabric to make sure everything looks good. Then print another to use on your actual blank!