
CHRISTMAS GIFT TAGS
Use your home printer and Cricut Explore or Maker to create these festive gift tags! These brightly colored print then cut Christmas gift tags are the perfect touch on the presents under the tree.
Ingredients
- 8.5" x 11" white cardstock or
- heavyweight paper
- Ribbon
- PNG Gift Tag File
Instructions
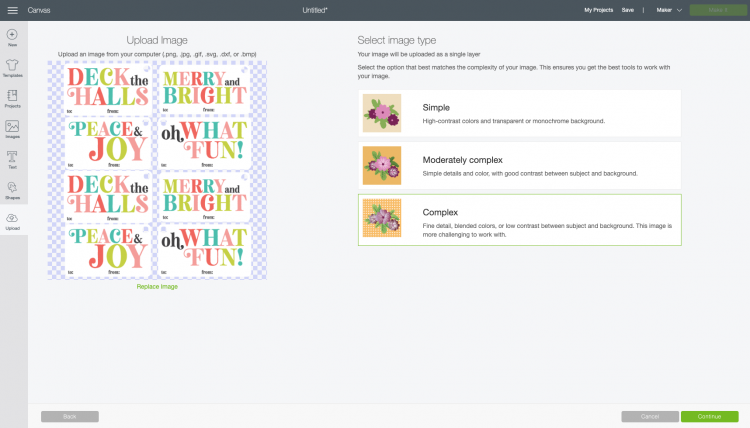
- Print then Cut Christmas Gift Tag InstructionsUpload the Print then Cut Gift Tags File to Cricut Design SpaceStart by uploading the gift tag file to Cricut Design Space.Upload the PNG and Cricut Design Space will have you select an image type. For this one, select "Complex" and click Continue.
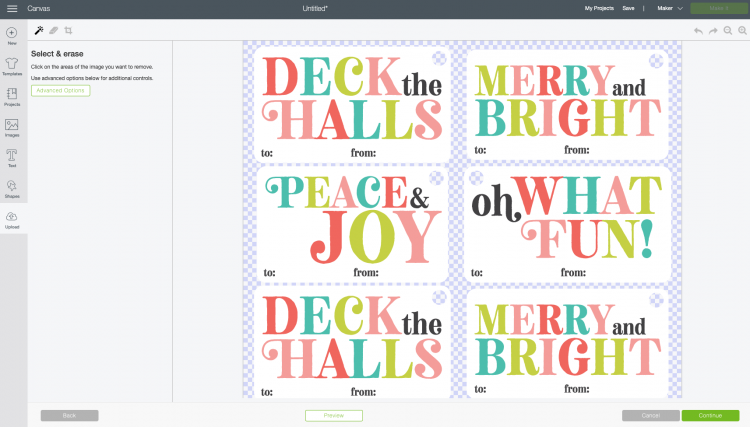
- In the next screen, you'll have the option to select and erase parts of your image. That's not necessary with the way I've set up the file, so click Continue.
- Finally, select "Print then Cut" as your image type.
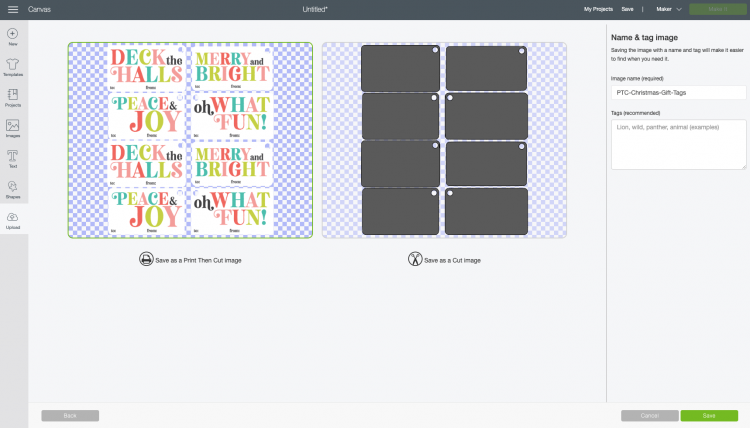
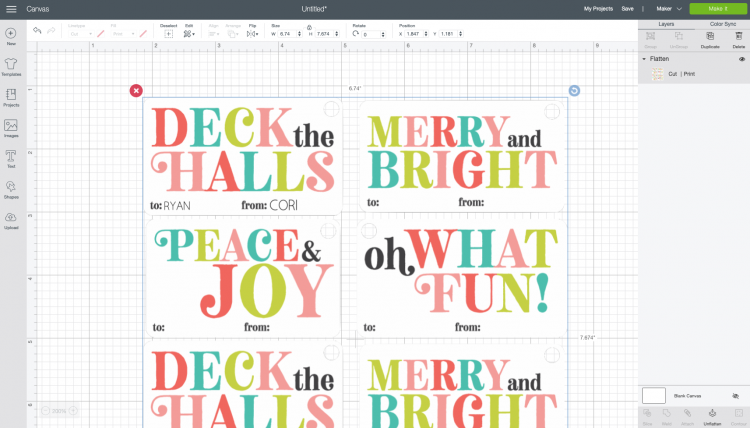
- Then you can bring the file into your canvas.
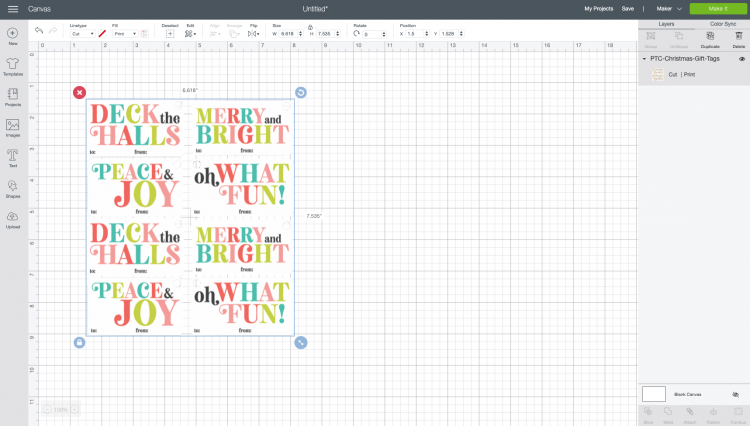
- If you'd like, you can use the Text Tool on the left to personalize your gift tags. Just type in the giver and recipient names and add them on top of the gift tag.
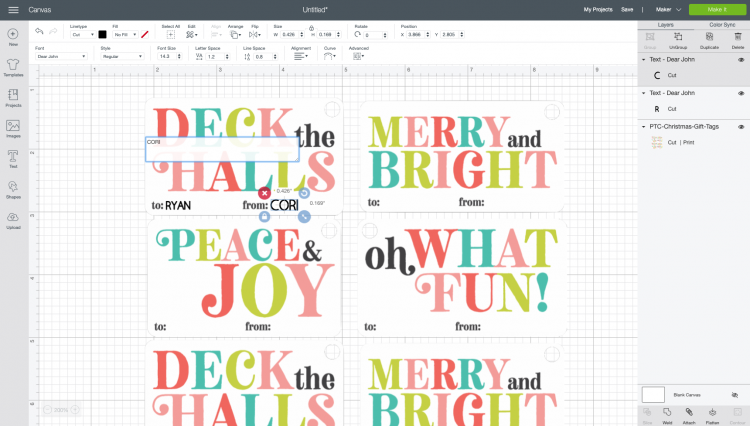
- Then select both the names AND the tags and click "Flatten" at the bottom of the Layers Panel on the right.You can those spots blank and handwrite them in when wrapping your gifts.Whichever option you choose, when you're done click Make It in the upper right to print then cut these gift tags!
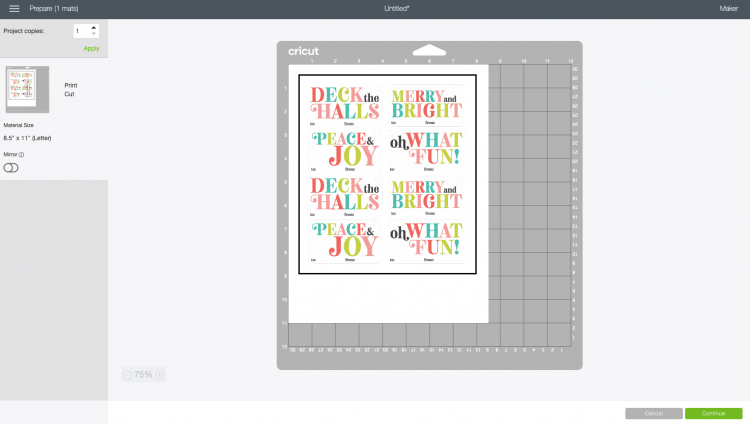
- Print Your Gift TagsIn the Prepare Screen, you'll see what your image will look like after it's been printed. Cricut Design Space will automatically put a black registration box around the image—this shows the software where your image is on the mat and where to cut. Click Continue.
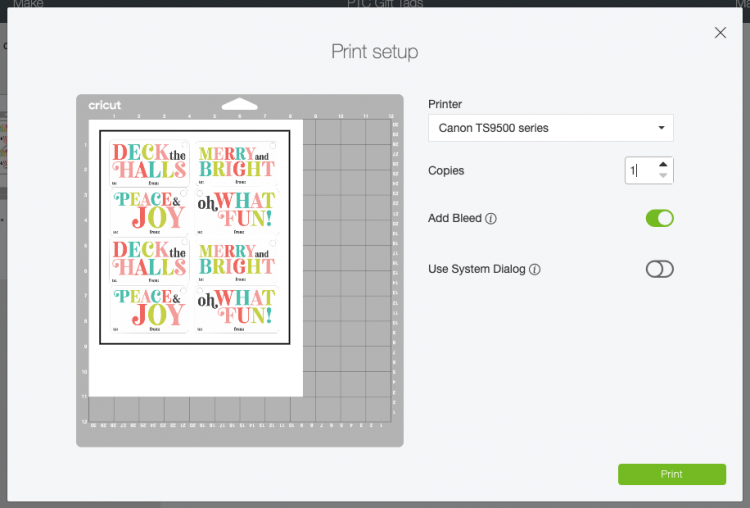
- In the Make Screen, you'll be prompted to print your image on your home printer. Click Send to Printer.
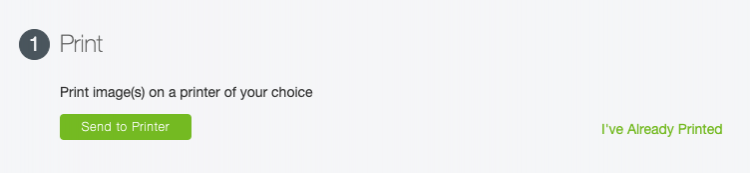
- This will open another window. Select your printer and click Print. Your home printer will print your gift tags with the black registration line around them.
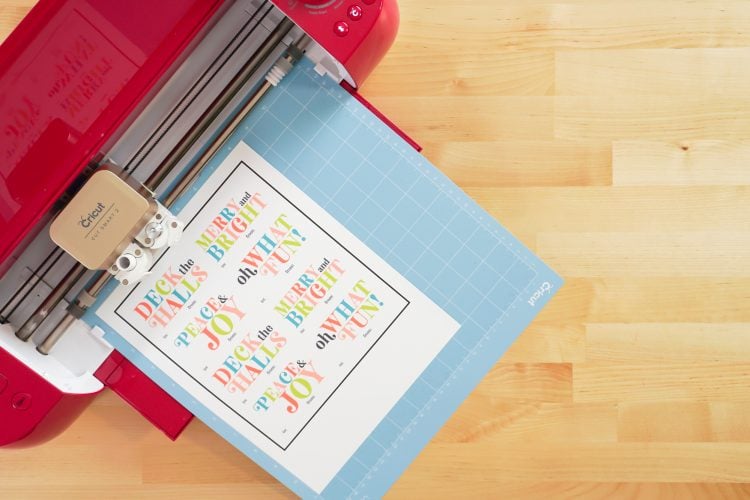
- Cut Your Gift TagsOnce you have printed your gift tags, place them on the cutting mat and insert into your Cricut. Your Cricut will then cut around the invisible edges of the cards, as well as cut the holes for the ribbon!
- The best way to remove these tags from the mat is to flip the mat over and bend the mat away from the tags—this will release them from the adhesive on the mat without curling them.

- Add Ribbon to Your TagsTo finish off your tags, add ribbon or twine! You can also just tuck these under a sticky bow if you'd prefer.
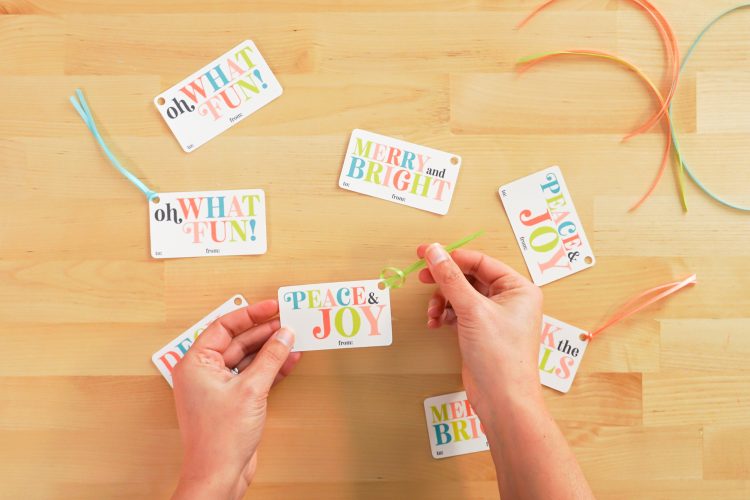
- Your finished product!
