BLOOMING QUILT PATTERN
Quilt-As-You-Go is so much more than just log cabins! Try this new Blooming Quilt Pattern technique for a fun effect.
Equipment
Ingredients
- Backing fabric
- Batting
- Scrap fabric
- High-quality thread
Instructions
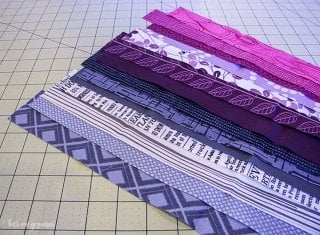
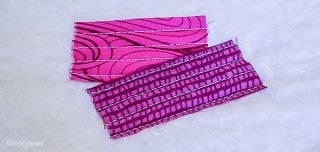
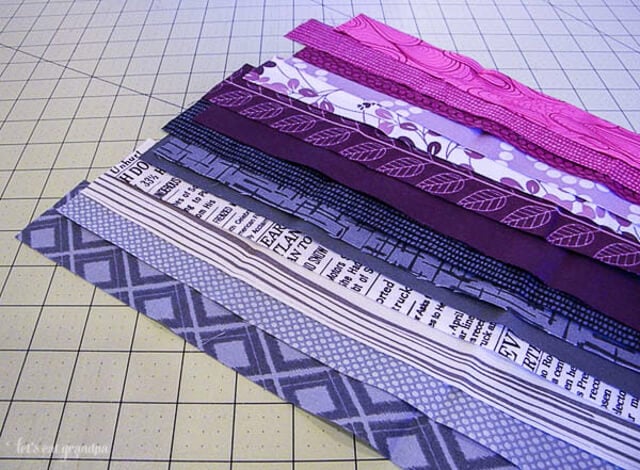
- There will be three layers to this panel. A backing fabric, the batting, and the scrappy top. Unlike a normal quilt sandwich, the back of your panel will be not so pretty. So it's perfect for making things with a lining -- pouches, bags, pillows, etc. It doesn't work so well for an actual quilt.You'll want your iron and cutting mat close by, as well as your scissors. Lower your ironing board and put it right next to your table, as well as put your small cutting mat right next to the sewing machine. This will save you time with each step.Choose your fabrics. You can do this with any fabrics. Find though that a gradation of color works particularly nicely, as well as a range of values -- dark to light. For this pouch, a selection of pinks, purples, and grays were chosen. Cut strips between 1" and 2" wide, or pull from your stash. It's perfect for scrap-busting.
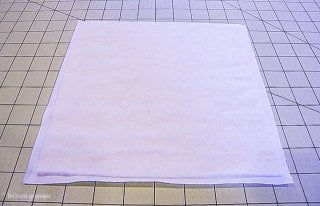
- Cut a piece of batting the size of the panel you want. This panel is 8.5" x 8.5". Back the panel with a utility fabric. For this pouch, an inexpensive cotton (seriously, like $1.99 a yard) was used since it will be inside the lining of the pouch. Cut it a little wider than the batting, just in case it shifts. You can spray-baste them together if you'd like.
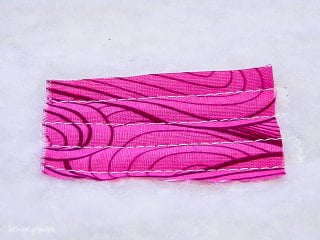
- Set up your machine to quilt. Lengthen your stitch a bit, and use high-quality thread. This is a thread-intensive project, so you might want to wind an extra bobbin or two, depending on how big your panel is, or how many you're making. Just to make this small square I used nearly an entire bobbin!The walking foot wasn't used as this machine quilts fine without it. But if you're more comfortable quilting with it, go for it. Pick the fabric you'd like as the center of the "flower," and quilt it, right-side up, straight to the batting. Start it a bit off-center, but you could start it anywhere on the panel.

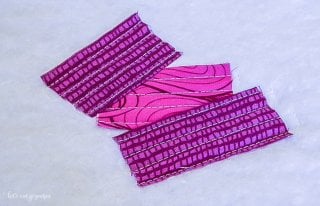
- Use a simple straight-line quilting, but you could do some FMQ or use other patterns. To save thread, when it comes to the end of the fabric, turn the panel, stitch three stiches down, and then stitch back the other way across the fabric. It actually goes pretty quickly once you get the hang of it.Here's a quick video of how to do the turning: QAYG Video Tutorial. Here is what you should have:
- In a traditional log cabin, you'd lay the next piece perpendicular to the first piece. Instead, lay your second piece face down at an angle, so the two pieces are right-sides together. Sew along the edge of the piece with 1/8" seam.

- Open up the two pieces and press the new piece away from the first piece. Quilt that one using the same technique you used on the first piece
- Add another piece across from it using the same method. Basically, instead of making a square, you want to make more of a pentagon, with five sides instead of four. So every piece will be angled. Use each fabric (except the first fabric) two or three times as you work your way out from the center. You'll see this more as it starts to come into form.
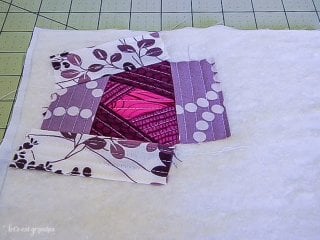
- Continue adding pieces at an angle. You want to make sure to cover up all edges and seams with the pieces you're adding. You'll see below that the light purple piece (right-side down in the photo) covers the two ends of the darker pink pieces, so that when it's opened, those ends are hidden.
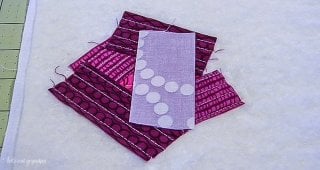
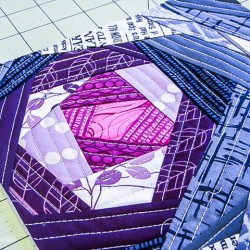
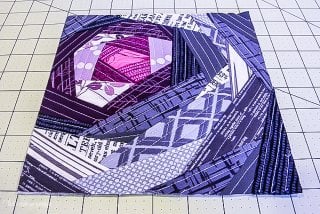
- You can already see the flower starting to take shape.
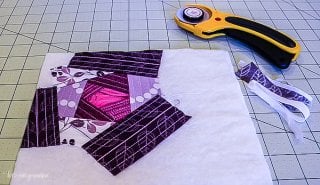
- Keep adding pieces. It's hard to go wrong -- Just make sure that the pieces you are adding are covering up the ends of the strips as you go -- you don't want frayed edges showing.
- When you start to get to the edge, trim as you add pieces. Trim after you open up a piece and iron it, but before quilting it. That means you are not quilting anything extra.
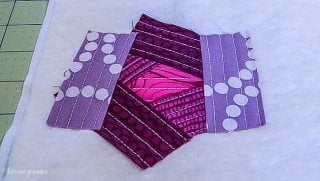
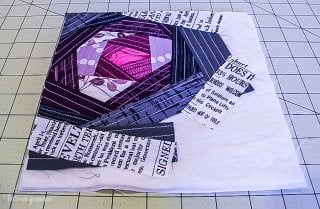
- Keep going around in a circle, adding pieces. You'll be surprised. You'll cut a large piece of fabric, and by the time you've added others on top of it, only a small triangle is showing in the end.

- It'll take some getting used to, but as you see the shape take form, where to put the next pieces will become more clear. It's difficult to visualize at first, but after a while it should make more sense.
- Keep on adding. You'll use more fabric strips than you'd expect.
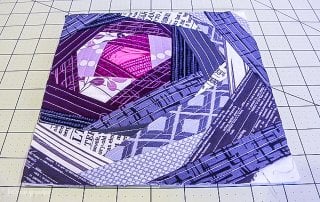
- Soon you'll be finished! Trim down your edges and square up your block (if you're making a square). You're ready to use this panel when you make a bag or pillow or mug rug!