BEGINNER LASER PROJECTS WITH GLOWFORGE SPARK
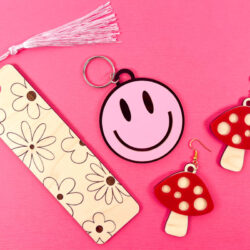
Looking for beginner laser projects to cut on your Glowforge or other laser crafting machine? You're in luck! We're making three projects, start to finish, that are perfect for your first print.
Equipment
- Plastic Razor Blade (optional)
- Brayer (optional)
- Small clamps (optional)
Ingredients
Instructions
- If you are new to the laser crafting, here are a few posts that might also help you start off well on your laser journey:Must-Have Laser Supplies for BeginnersLaser Linetypes: Basic Overview of Cut, Score, and EngraveLaser Masking for Cleaner Laser ProjectsRetro Flower Engraved Wood BookmarkPlace your piece of wood in the bed of your machine. Your Glowforge will automatically take a photo of the material when you close the lid.Upload the SVG file to the Glowforge App. You will see all three projects with each layer on the left.
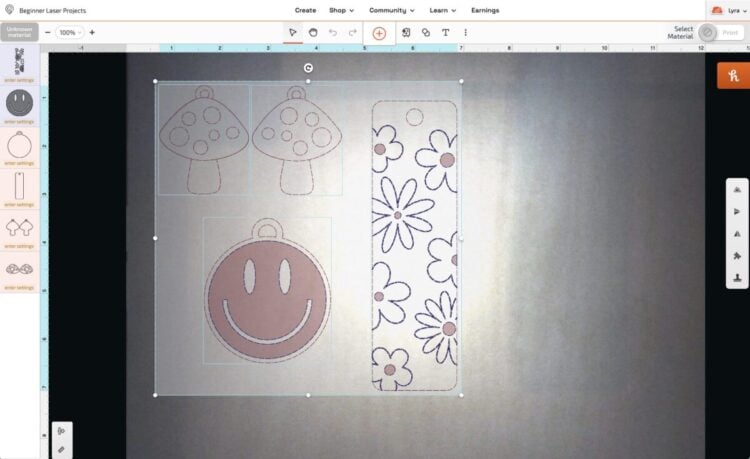
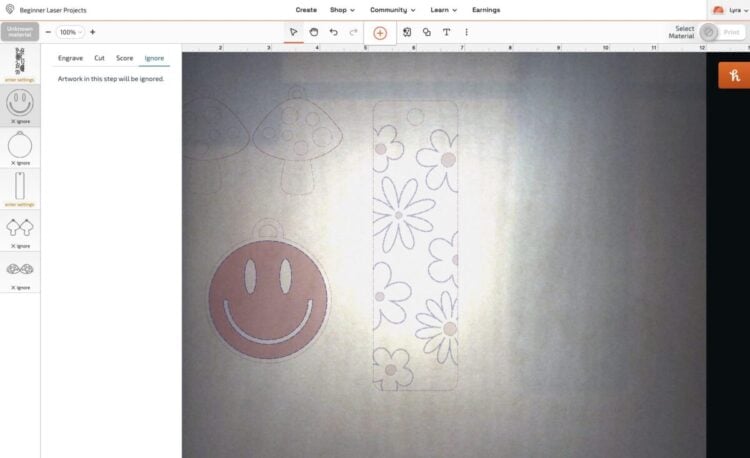
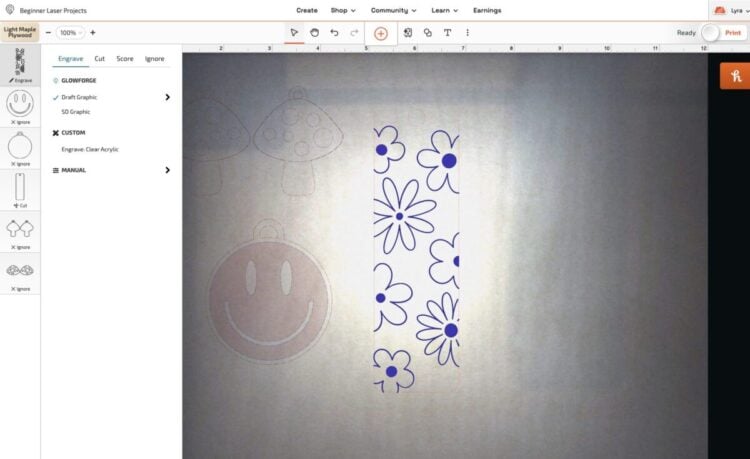
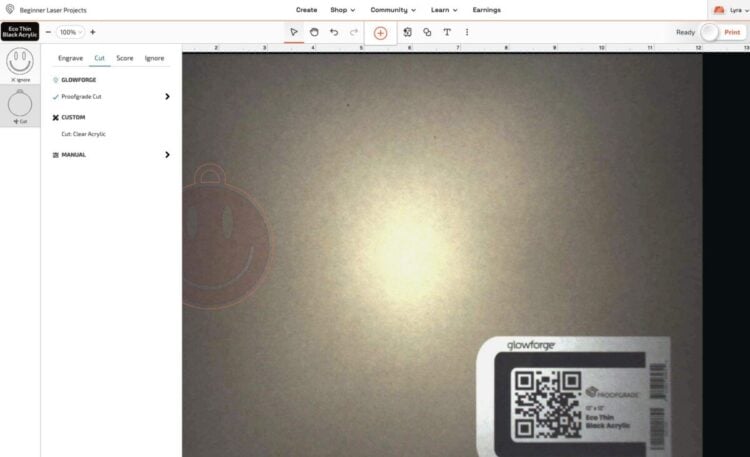
- You only want to cut and engrave the bookmark, so click on the other layers and set the linetype to "ignore." They will still show as images, but they won't actually process because they've been set to ignore.
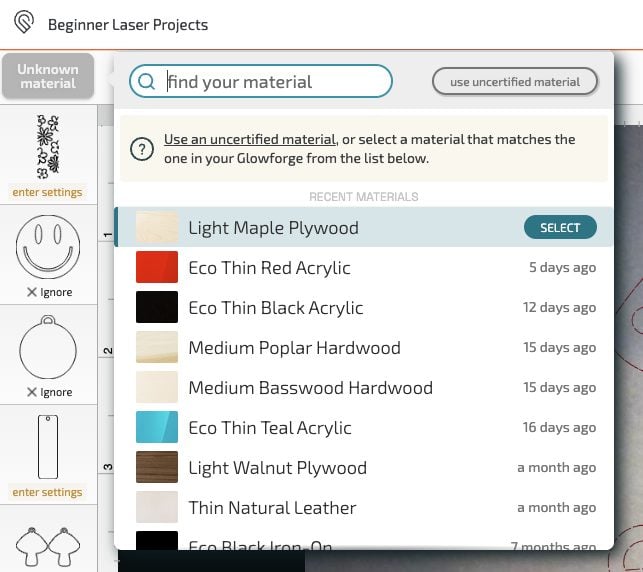
- For this project a thin maple plywood is being used but there is no QR code on this particular piece. If you have Glowforge Proofgrade material and it can read the barcode, the settings will automatically be set for you. If for some reason you don't have a QR code or your Glowforge can't read it, click on the material in the upper left and set your material.
- For the two pieces of the bookmark, confirm that the outline of the bookmark is set to cut, and the flowers are set to engrave.
- Now place your bookmark at the edge of your material or wherever you think you'll make the most of your material. You can move the other ignored layers out of the way.
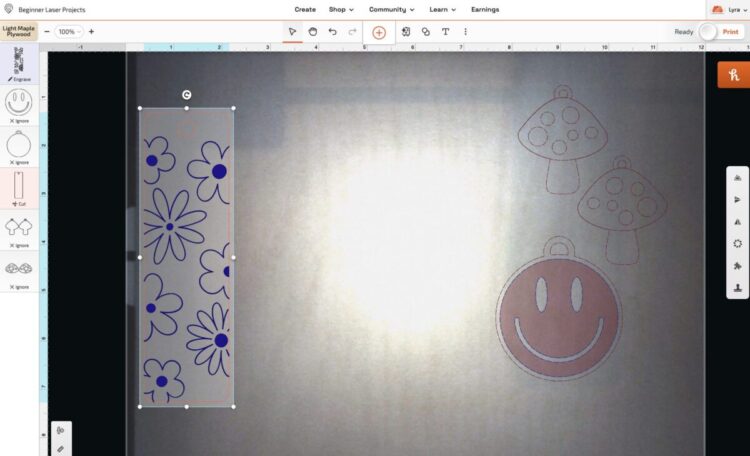
- Then click Print! From here, your Glowforge will process your image and tell you how long it will take to cut and engrave. This one is 42 minutes. Yes, that's a long time! But that's one of the biggest tradeoffs getting a smaller craft diode laser vs. a larger laser like the Glowforge Plus or Pro.
- Press the glowing button on your machine to start the process. Once your project is done cutting and engraving, remove it from the bed of the laser. Use a plastic razor blade or other tool to remove the paper masking from your project. See more about removing masking in this Laser Masking for Cleaner Laser Projects.

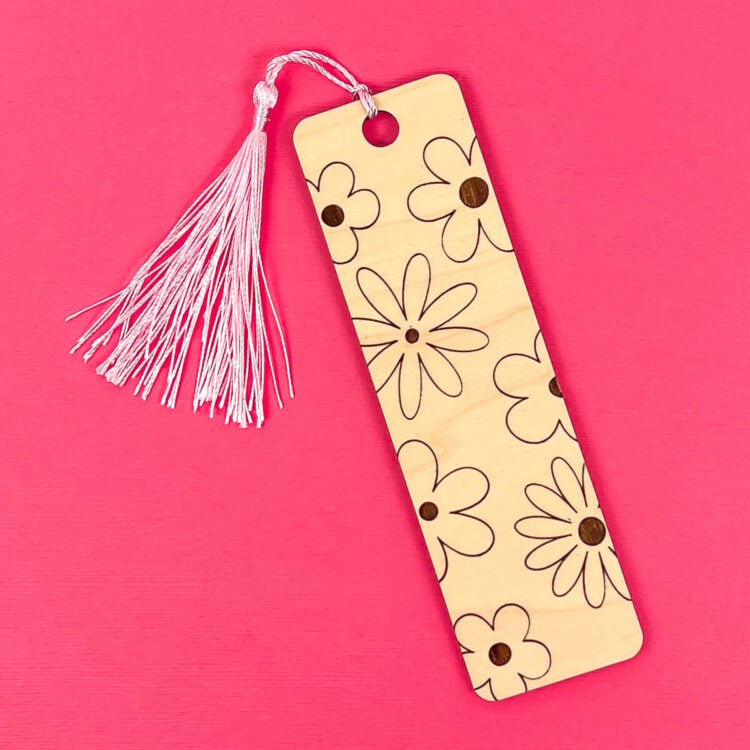
- Then add your tassel and you're done with your first project!
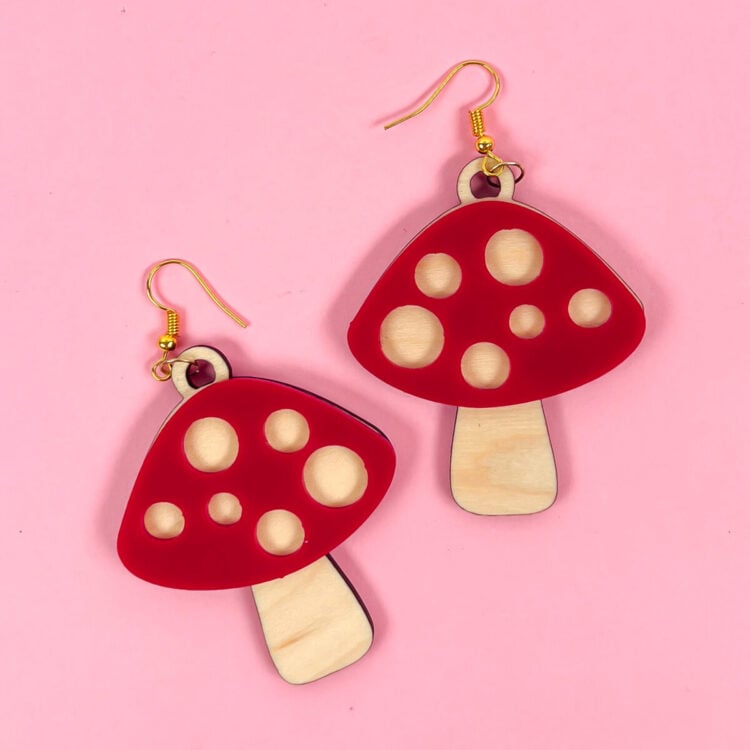
- Mushroom Earrings with Wood and AcrylicNext up, let's make a pair of mushroom earrings. This tutorial will show you how to combine materials (wood and acrylic) and how to use craft glue to layer a project. You can also use the 3M adhesive method shown for the keychain below if you'd like.Head back into the Glowforge App. You can click on and delete the bookmark file since we already did it, or you can choose to ignore those layers.The back pieces will be cut out of the light maple we used for the bookmark. To make the most out of your material, rotate the mushrooms and nest them together.
- Now change the mushroom backing layer to cut instead of ignore.
- That's it! This one is ready to go. Click Print. This cut time is much faster at just under 4 minutes. Press the glowing button on your Glowforge to cut your earring backs.Now we're going to do the same process with the earring fronts. Place your red acrylic in the bed of the laser. You'll notice on this one that it read the QR code and automatically set the material to the EcoThin Red Acrylic. If you do not see this, manually set your material like you did with the maple above.Now you can move the mushroom tops to where you want to cut them. You can right click on the mushrooms to ungroup them and delete the back layer that we already cut, or you can actually just overlap the two images like what has been done here.
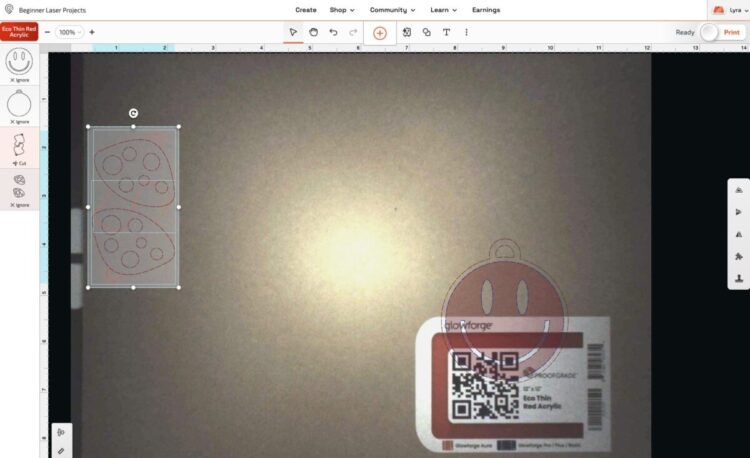
- Next, set the backing pieces to ignore and the mushroom tops to cut and you're good to go!
- Then set the backing pieces to ignore and the mushroom tops to cut and you're good to go!
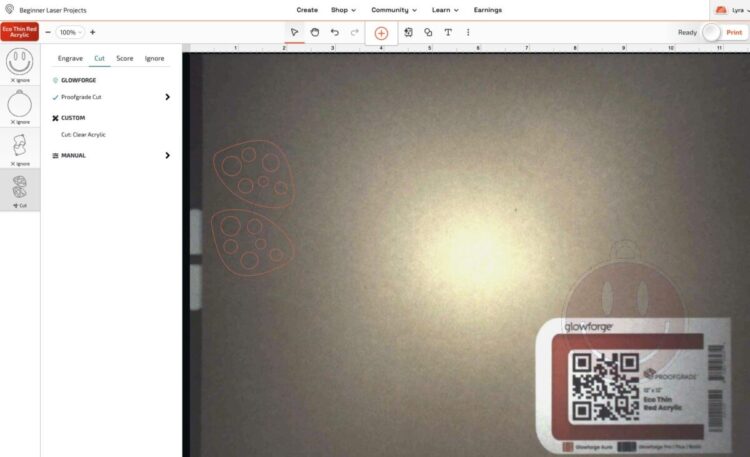
- Click Print. The cut time for these two pieces is around 8 minutes. Press the glowing button on your Glowforge to cut your mushroom top pieces.Now you can assemble the earrings. Use the plastic razor blade to remove the masking on all of the pieces.
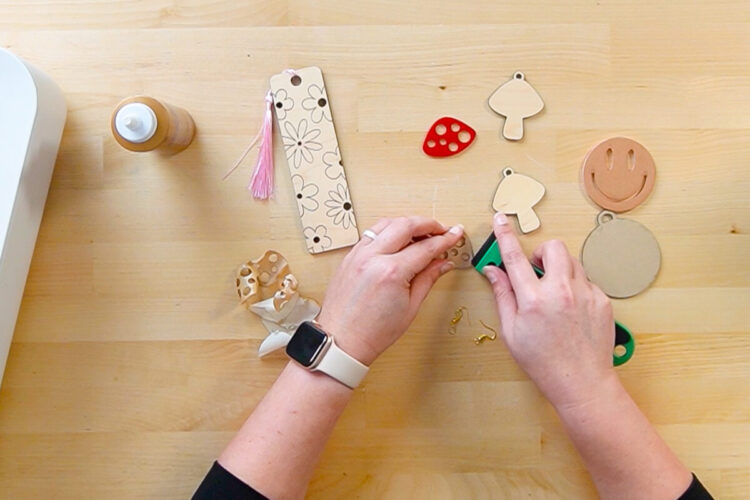
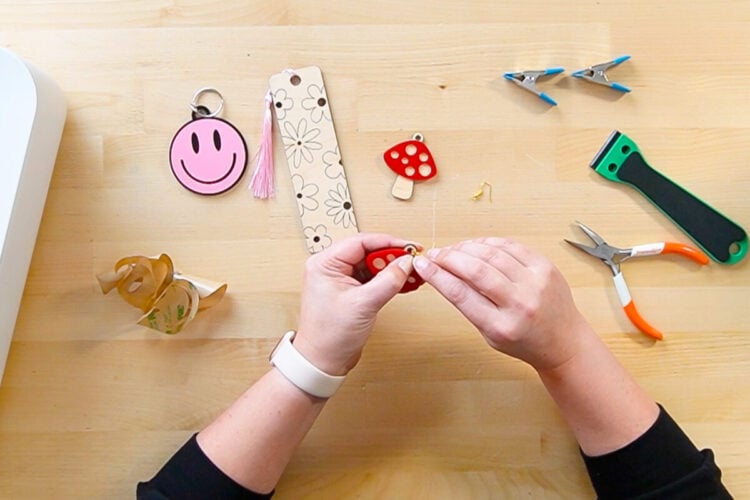
- Then place a very thin layer of glue on the back of the red piece and secure to the wood piece. You can use a clip or clamp to hold them together, or place it under a stack of books. Wipe up any glue that has seeped out of the edges.
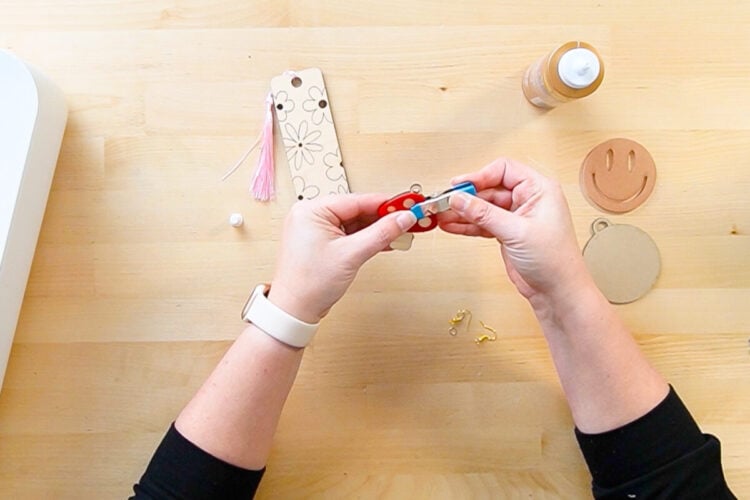
- Once the glue has dried, add your fishhook earring findings to finish your project!
- Adorable!
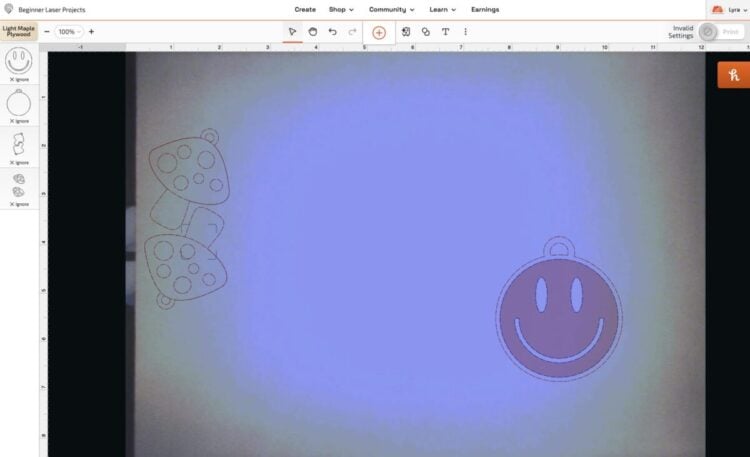
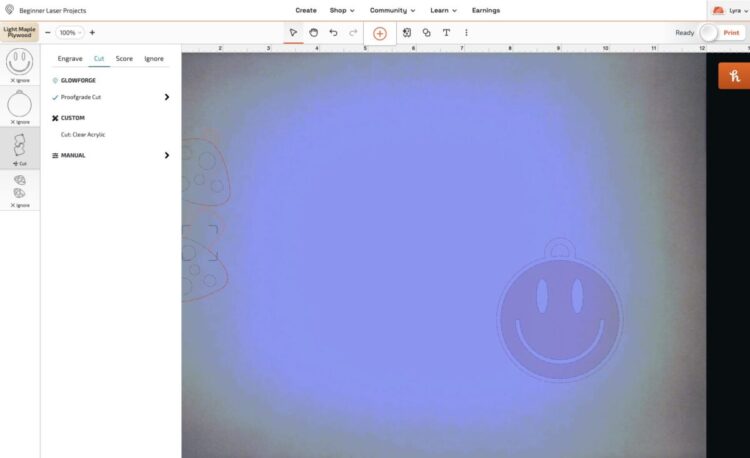
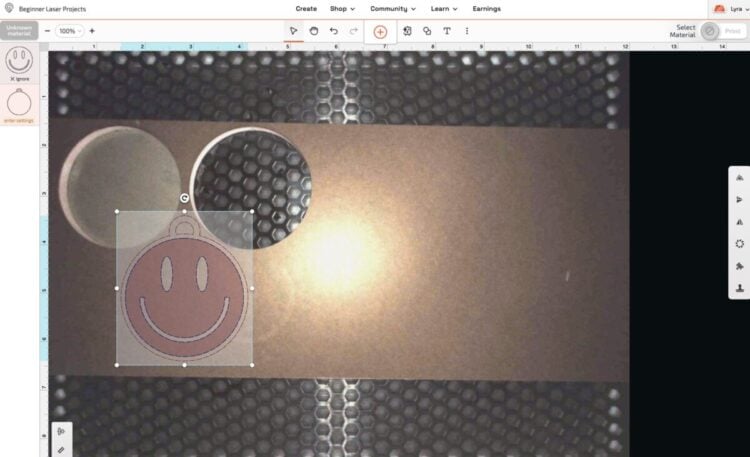
- Layered Acrylic Happy Face KeychainUp last is a layered project using two types of acrylic! There are specialty glues for adhering acrylic, but the preferred method is to use the 3M double-sided adhesive.Let's start by cutting the black backing piece just like you did the other pieces. Delete the mushroom earrings from the file or set them to ignore. Move the happy face piece to a place on your acrylic where you'll be wasting the least amount of material.
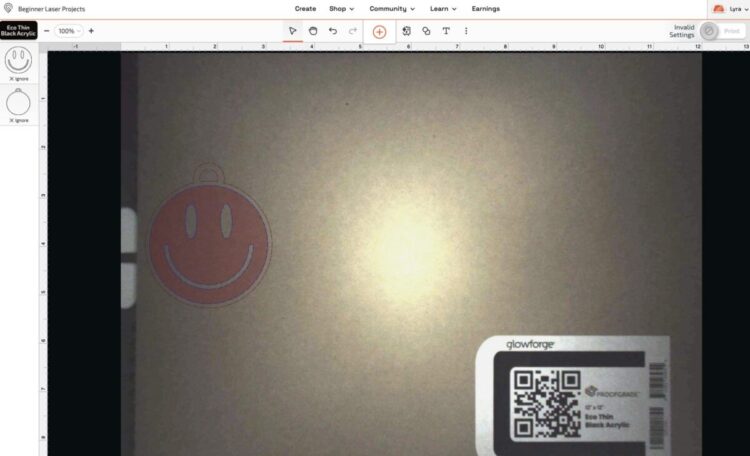
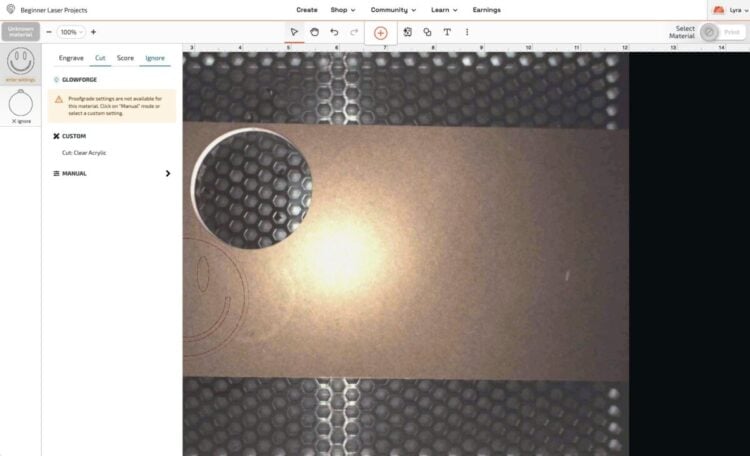
- Set the backing piece to cut and confirm the front happy face piece is set to ignore
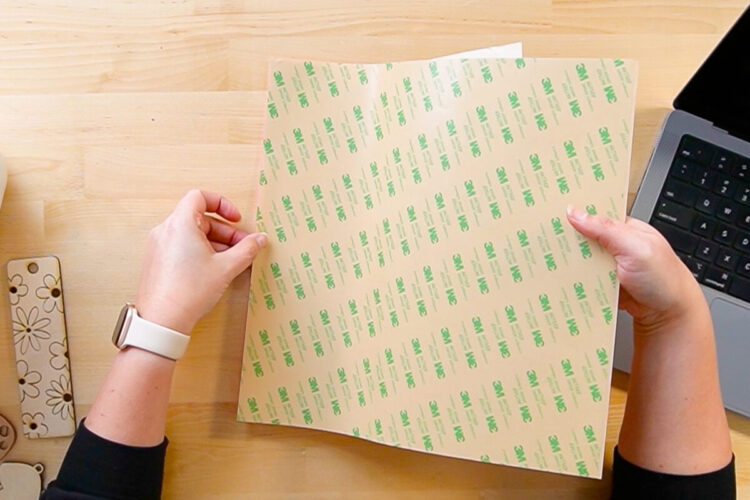
- Click Print. The cut time for this piece is only a bit over two minutes. Press the glowing button on your Glowforge to cut your black piece.Now for the happy face piece, use a piece of diode-tested acrylic from Houston Acrylic. They have a lot of acrylic colors that have been tested to work in diode lasers like the Glowforge Aura and Glowforge Spark. Because these aren't directly from Glowforge, they are not "Proofgrade" materials, meaning that Glowforge does not have a setting for them within their software. Thankfully, for these particular acrylic colors, Houston Acrylic has the settings on their website. You will be changing those in just a minute. But first you need to add that 3M double-sided adhesive to the back of the piece of acrylic. Start by removing the masking from the back of the acrylic.
- Then apply the 3M double sided adhesive to the unmasked side of the acrylic. Trim off any excess adhesive using a craft knife or scissors.
- Use a brayer to remove any air bubbles or wrinkles.
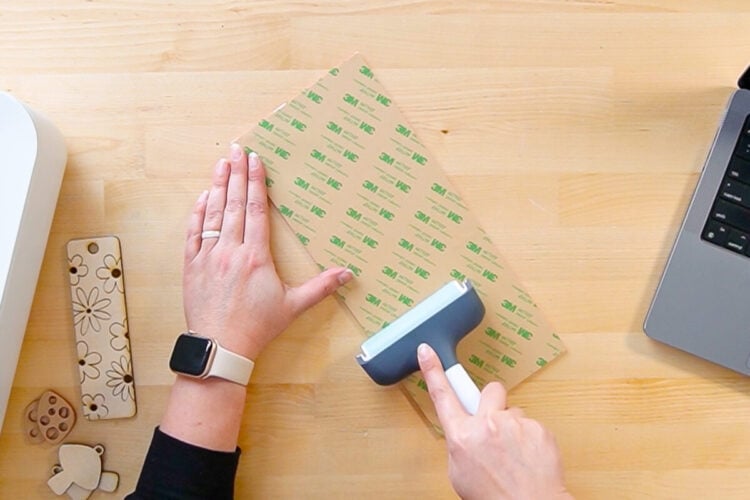
- Then place the acrylic in the bed of the machine with the 3M side down. Place your keychain image to take advantage of the material.
- Then change the happy face piece to cut and the backing piece to ignore.
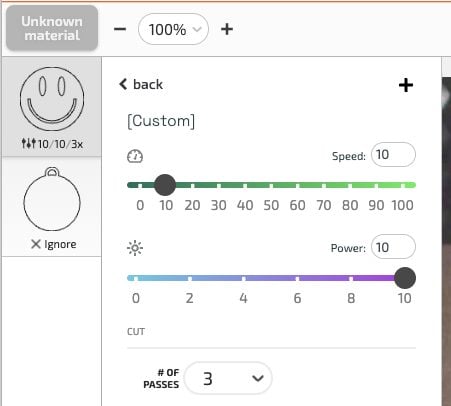
- Now you need to set the settings as mentioned before. With the happy face layer selected on the left, click Manual. This will open up the manual settings window. Here you can enter the settings from the Houston Acrylic website. For this material, I have my speed set to 10, my power set to 10, and I have it set for three passes.
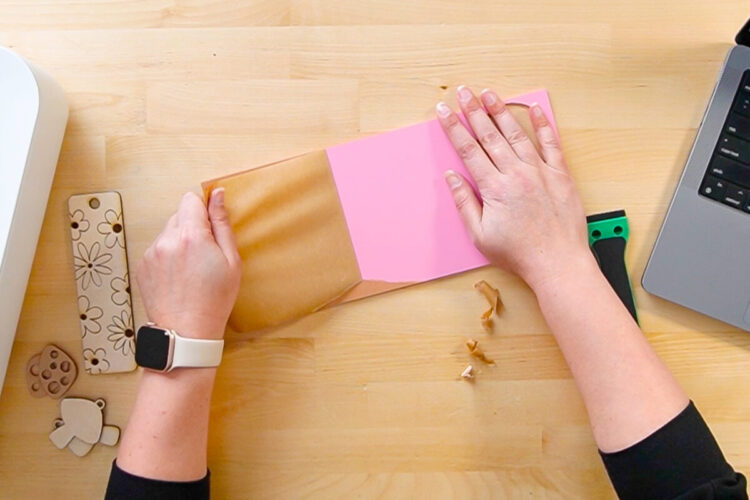
- Click Print. The cut time for this piece is about eight minutes. Press the glowing button on your Glowforge to cut your pink happy face piece.Now we can assemble! Remove the masking off the front of the pink piece and both sides of the black piece. And then peel back the backing of the 3M adhesive on the back of the pink piece.
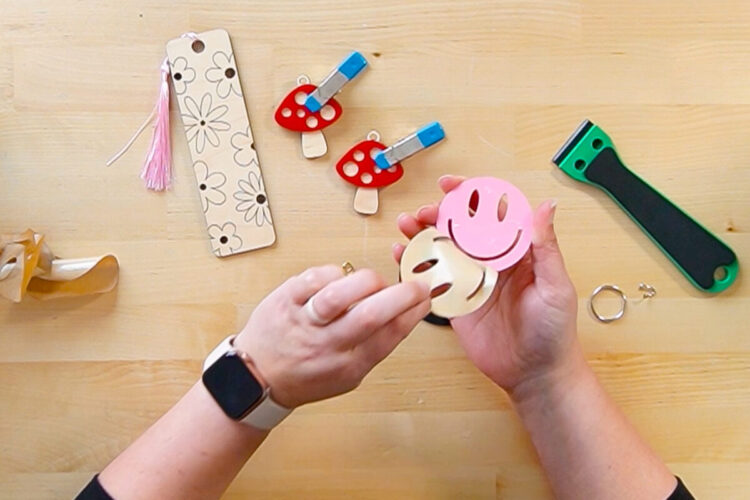
- Then place the pink piece on the black piece. The 3M adhesive is pretty sticky, so make sure you get it right the first time!

- Then add your keychain finding and you're done!
