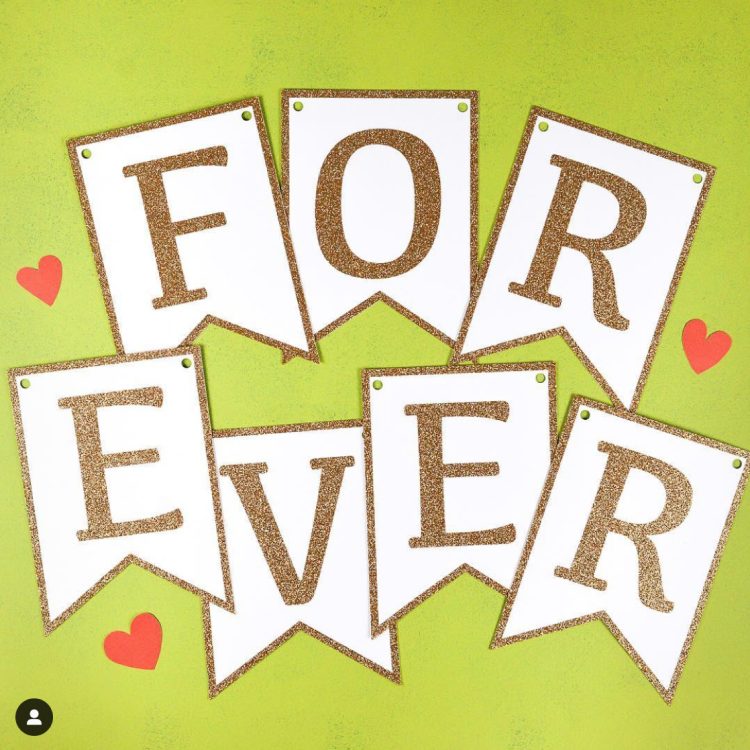
ADOPTION BANNER USING IRON ON VINYL ON CARDSTOCK
Did you know you can use iron on vinyl / HTV on cardstock? Here are my best tips and tricks for making it work, plus get the free cut files to make this "FOREVER" adoption banner!
Equipment
- Cricut Maker or
Instructions
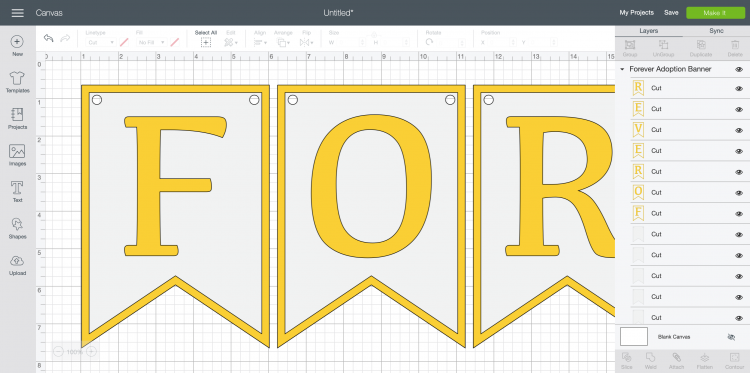
- To make this banner, cut out the file using your Cricut Explore or Maker. The file will come in with each banner piece being 5" x 7", but you can resize if you'd like.
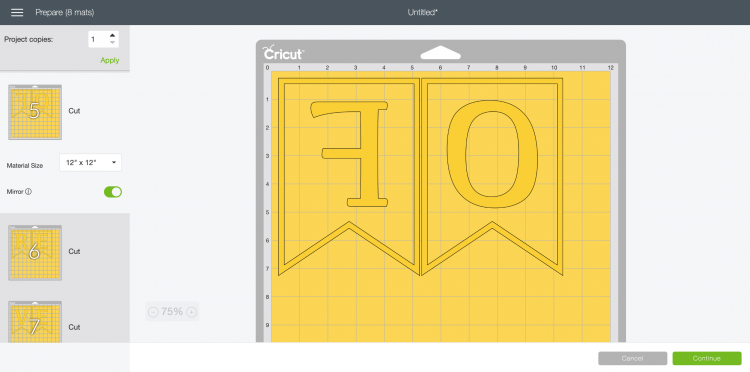
- Note that for the iron on vinyl, you will need to MIRROR that layer so that your letters are facing the correct direction when you iron them onto your cardstock.
- Once you have your cardstock and glitter iron on vinyl cut, weed the negative space on your iron on vinyl. You can see all the best weeding tips and tricks here.

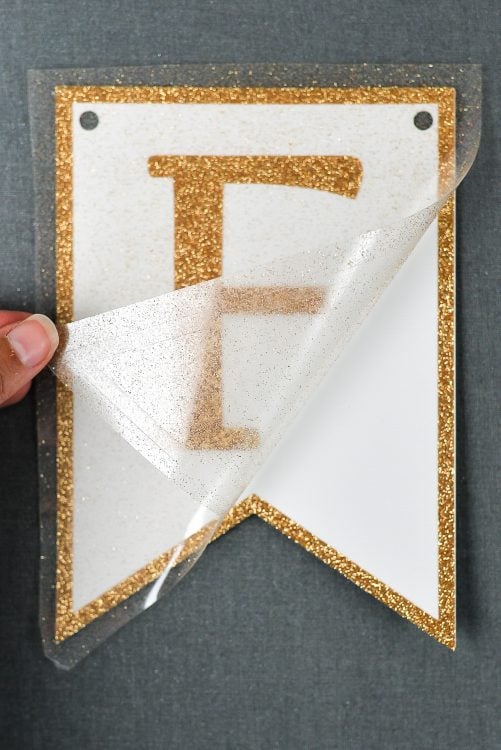
- Then carefully line up your iron on vinyl pieces over your cardstock flags.

- For this project the Cricut Easypress was used over any another heat method, but you can also use an iron or even a heat press. For cardstock, use a lower heat than normal use for glitter iron on—290°. Then press for 30 seconds, flip, and press for 15 seconds from the back. Then peel off the plastic liner.
- To keep the paper from curling, place each banner piece underneath some heavy books while they cool.
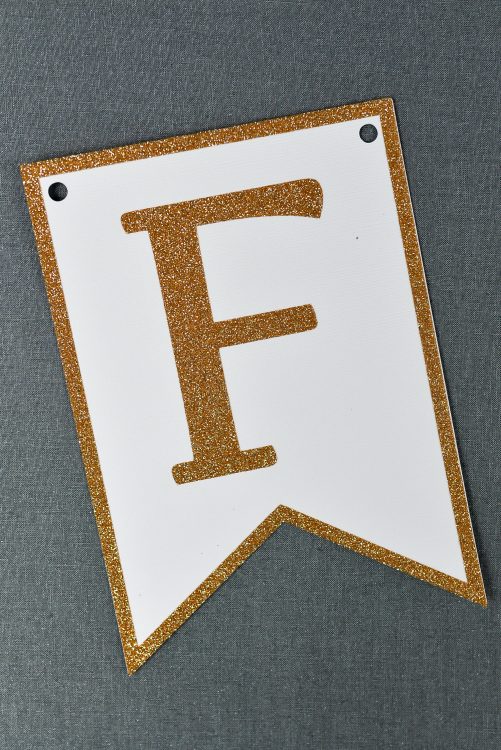
- Once you've finished your banner pieces, string them together using ribbon.